
Enhance Your Space with Classic Elegance
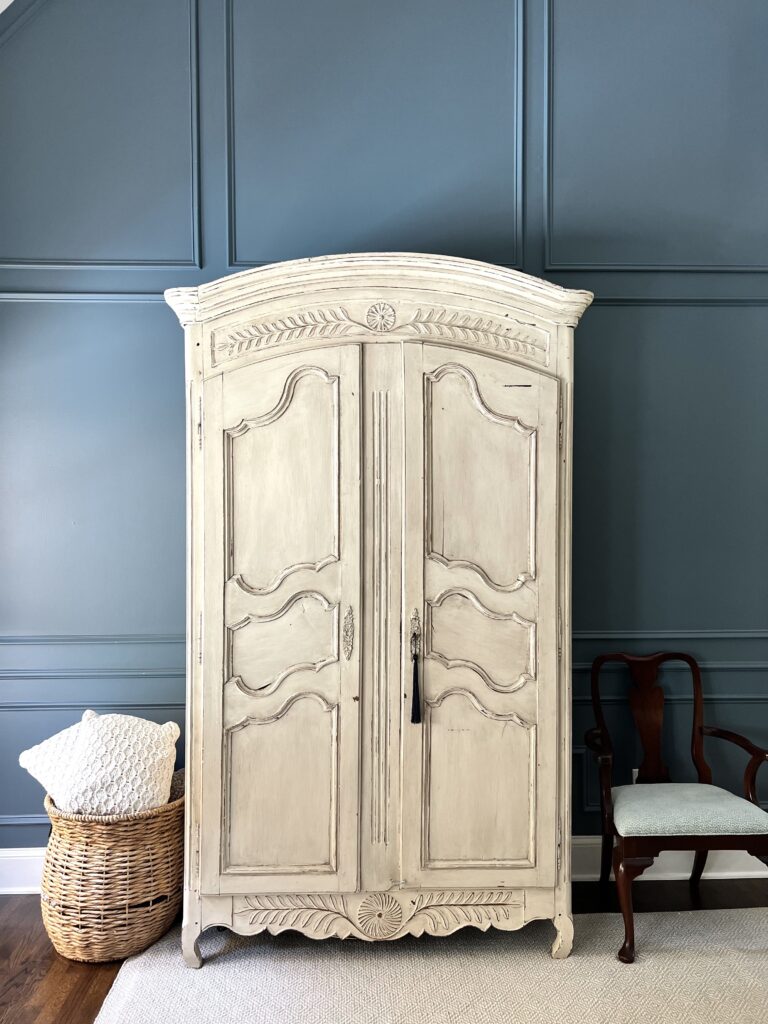
If you’re looking to add a touch of timeless elegance and sophistication to your home, wainscoting is an excellent choice. Also referred to as panelling or wall/chair rail molding, wainscoting is a classic design element that adds sophistication and charm to any room. The best part is that you don’t need to break the bank to achieve this elegant upgrade! In this blog post, we’ll guide you through the 6 easy steps of DIY wainscoting, enabling you to create a stunning feature that easily upgrades any space.
materials you’ll need:
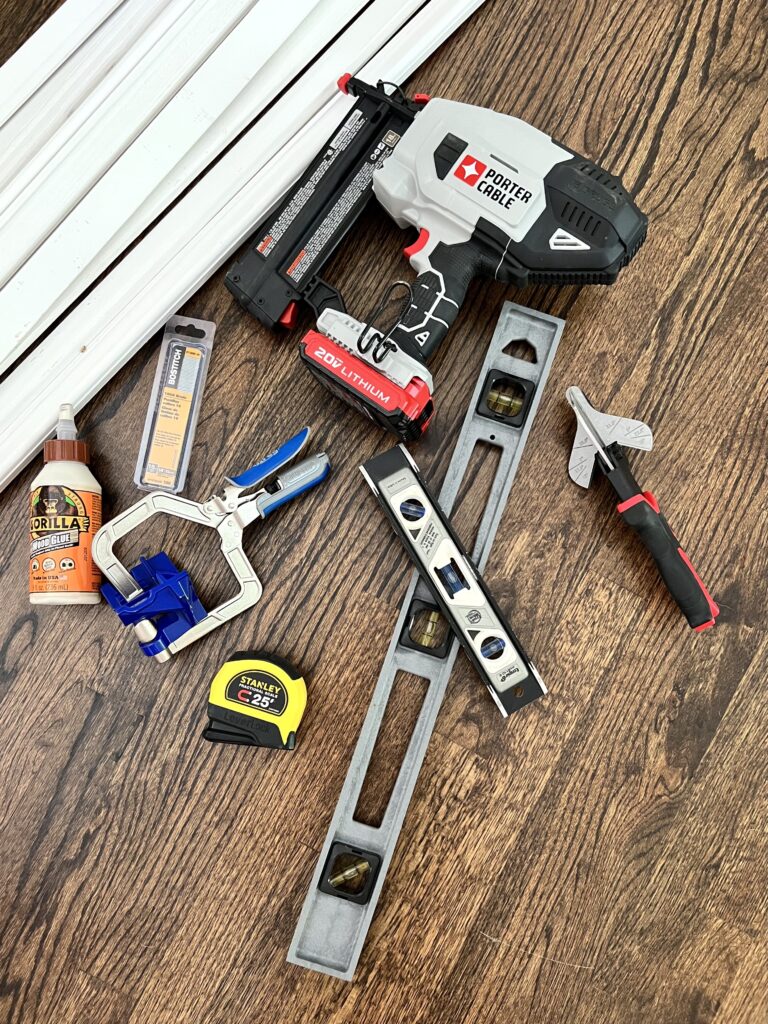
(note- the blue corner clamp pictured above was used for a cabinet project we did at the same time, so it is not needed for this. The red & black miter clippers are something we tried for cutting the moulding but it did not work as efficiently as the saw so we don’t recommend)
- Primed Finger-Jointed Base Cap Moulding
- Chair rail molding (if you want this for your design, this is a thicker piece that is usually 1/3 up the wall)
- Gorilla Glue
- Battery Operated Nail Gun – highly recommend battery operated so you don’t need an air compressor
- Brad nailer or finishing nails – we used both 2″ and 3/4″ for this project.
- Level
- Measuring tape
- Miter saw
- Sandpaper – we used 220 grit
- Paint or stain
- Caulk
- Paintbrushes or foam rollers
- Putty knife
- Safety goggles and gloves
- Wood filler
Step 1 – Plan and Measure
Decide on the height of your wainscoting and the type of design you want. We usually map out the design we want with blue painters tape to get a feel for how large we want each section or “trim box”. Once we decide on the layout we go in and trace it on the wall with pencil to use as a guide. Measure each “box” you created to determine how much wood you’ll need.
Step 2 – measure and cut
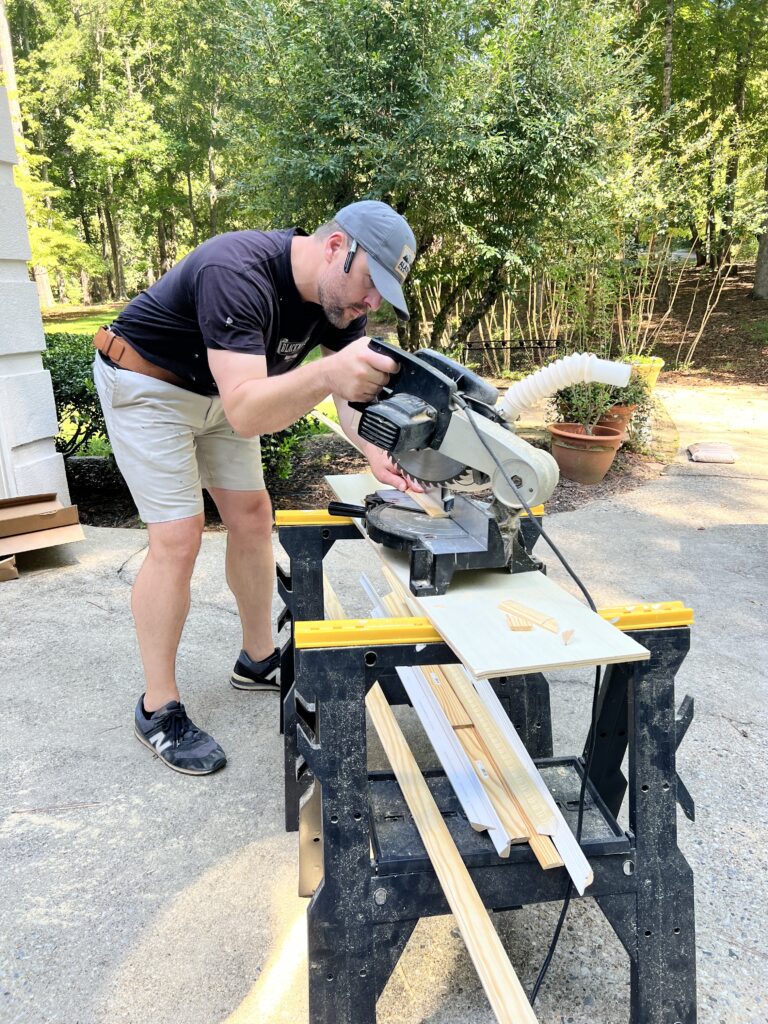
Measure twice, cut once! Measure how long you need each piece of wood to be and make your cuts. Cut all of the moulding ends at 45 degree angle to create a ” trim box” to fit the dimensions of your wall. We began the project using the miter saw above but ended up getting a new miter saw similar to this one.
Step 3 – assemble your Trim boxes on the ground

We’ve found with a typical sized room it’s easier to assemble the wood shapes together on the ground first instead of separately attaching each piece directly to the wall. Put a dab of wood glue on the inside of your cut and then using your nail gun, nail the 2 pieces together with a 3/4 nail creating one corner of the “box”. Continue this process until your shape is complete.
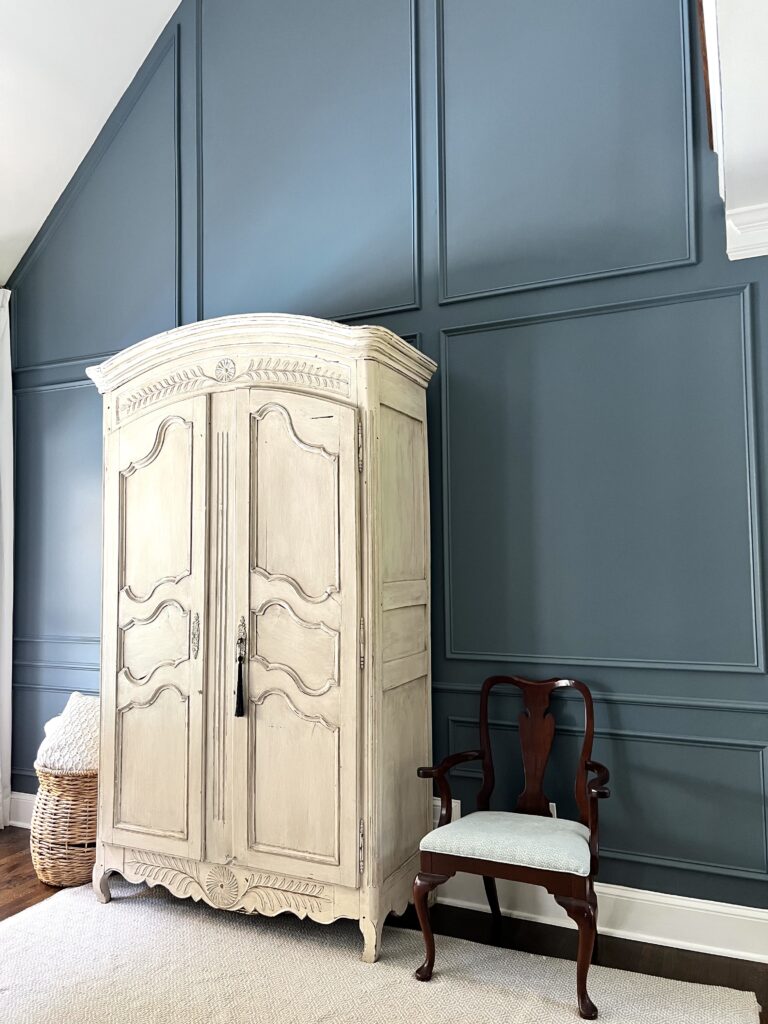
If your wall is very tall like the two-story wall pictured below, it’s easier to attach the pieces to the wall 1 at a time so you aren’t carrying a huge shape box up the ladder. Either technique will achieve the same outcome so feel free to try both methods and do whatever is easiest for you. Either way, remember the goal is to make a “trim box” to attach onto the wall.
Step 4 – nail into the wall
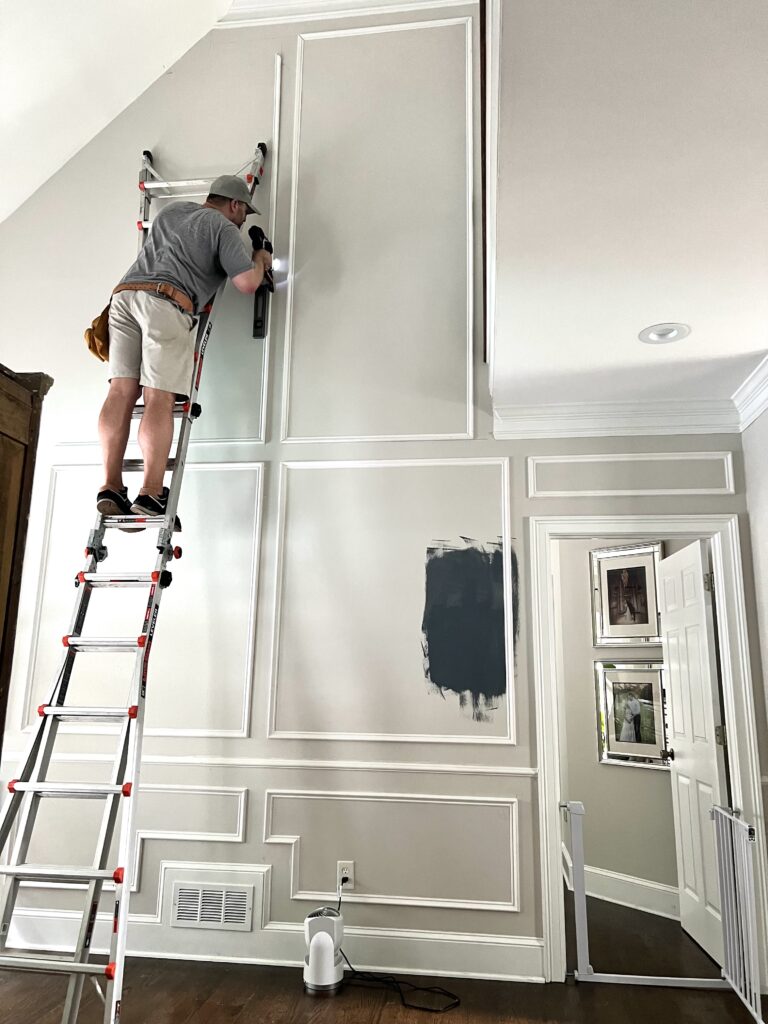
If you drew pencil lines, match up your trim boxes or pieces to the lines. Use your level to make sure all sides are level on the wall. Nail into the wall with your 2″ nails.
Step 5 – Fill Nail Holes and Caulk
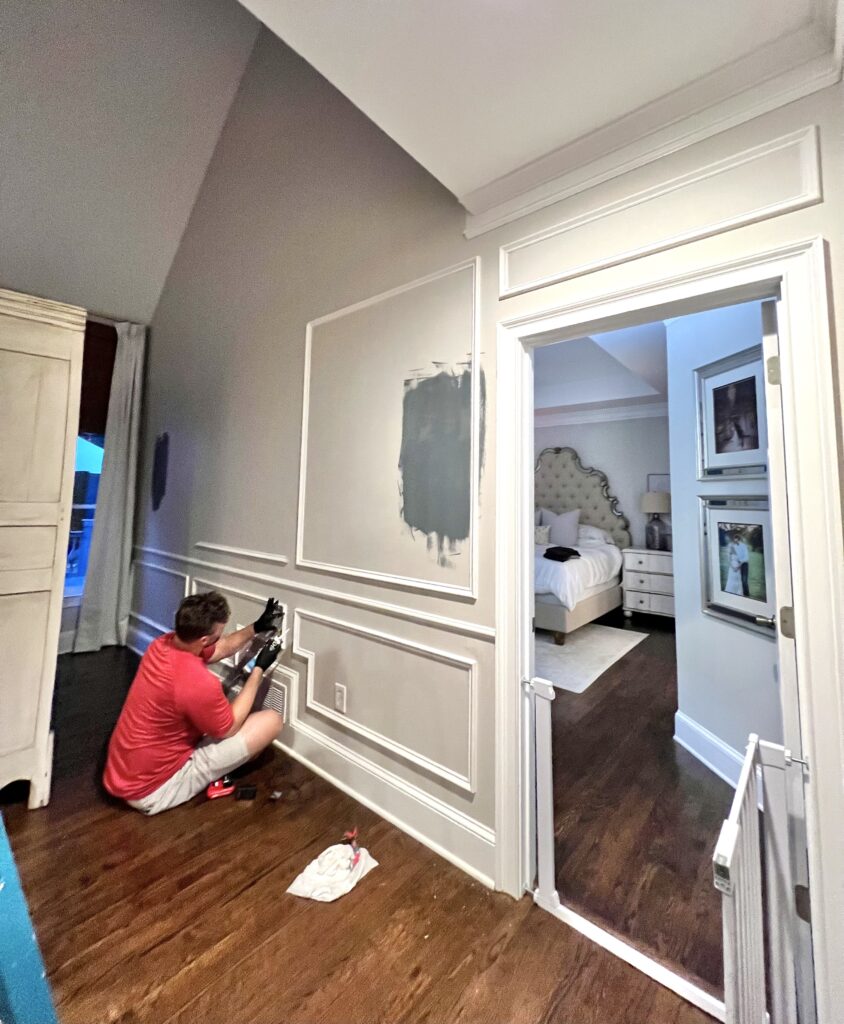
Use wood filler to fill in any nail holes and gaps between the wainscoting panels, baseboards, chair rail molding, and crown molding. Allow it to dry and sand it smooth (we used 220 grit sandpaper). Apply caulk along the edges to create a seamless look.
For this room we went section by section, filling in holes and caulking each section as we put it up. You could also get all of your wood up on the wall first and do the filler at the end. For us, we were working around a toddler’s sleep schedule and couldn’t use the nail gun as often as we wanted, so we used that time to knock out what we could!
Step 6 – paint
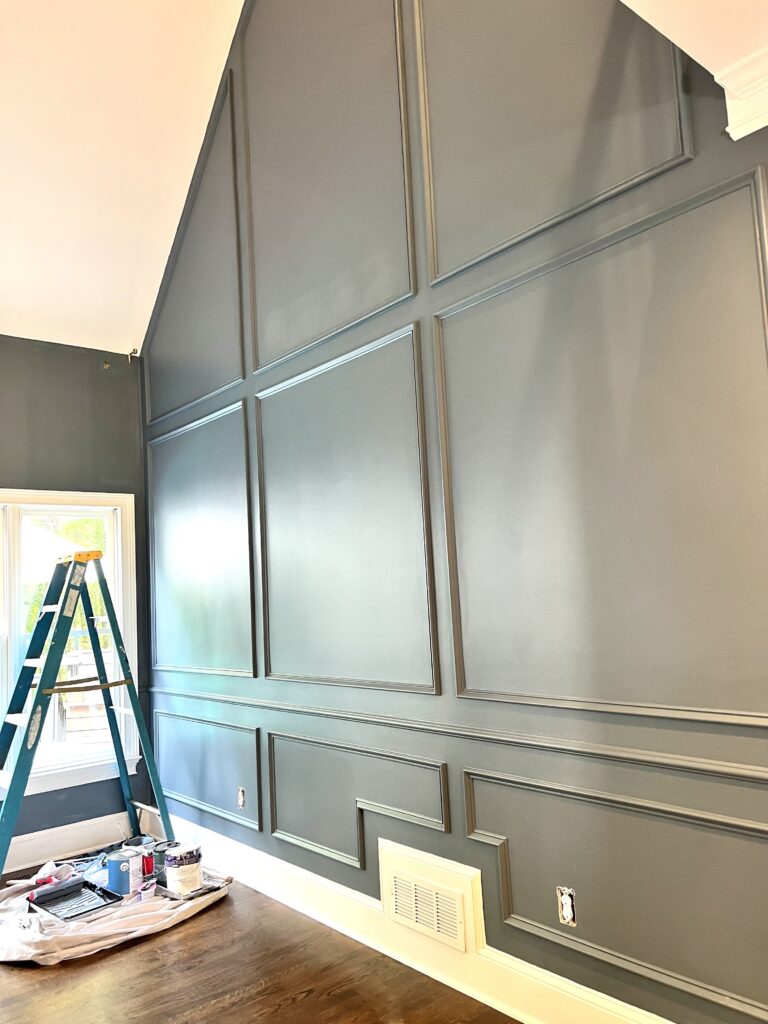
Prime the wainscoting panels and moldings if necessary, then paint or stain them in your preferred color or finish. We usually do two coats to ensure it’s nice and blended.
Shop the post

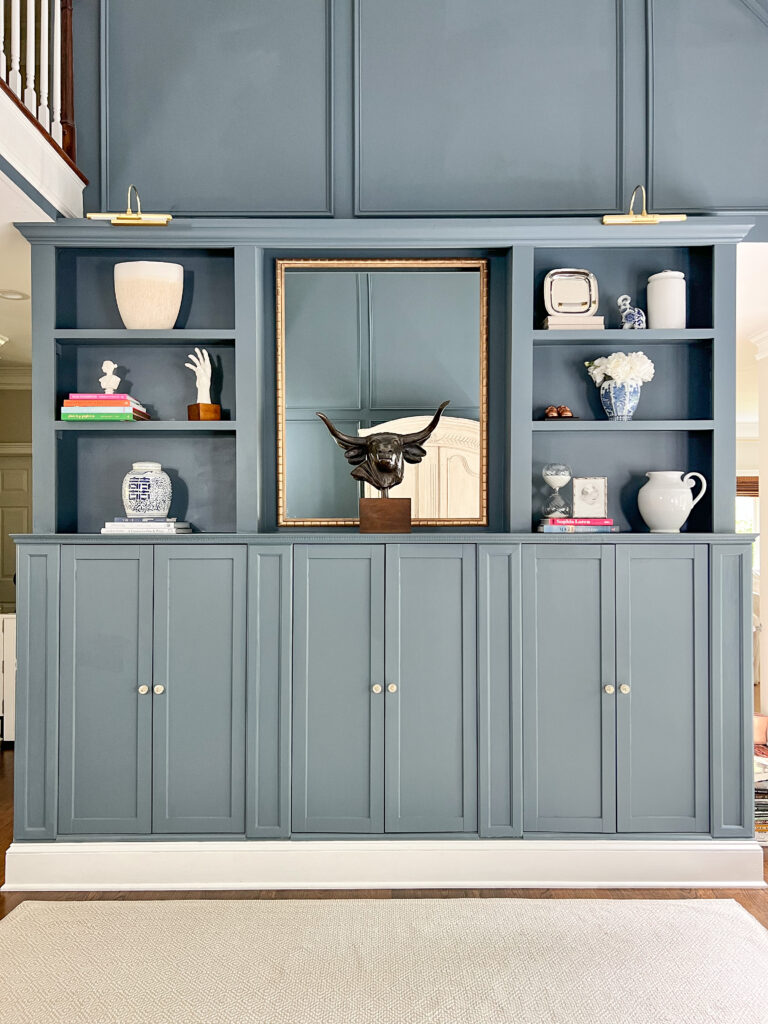
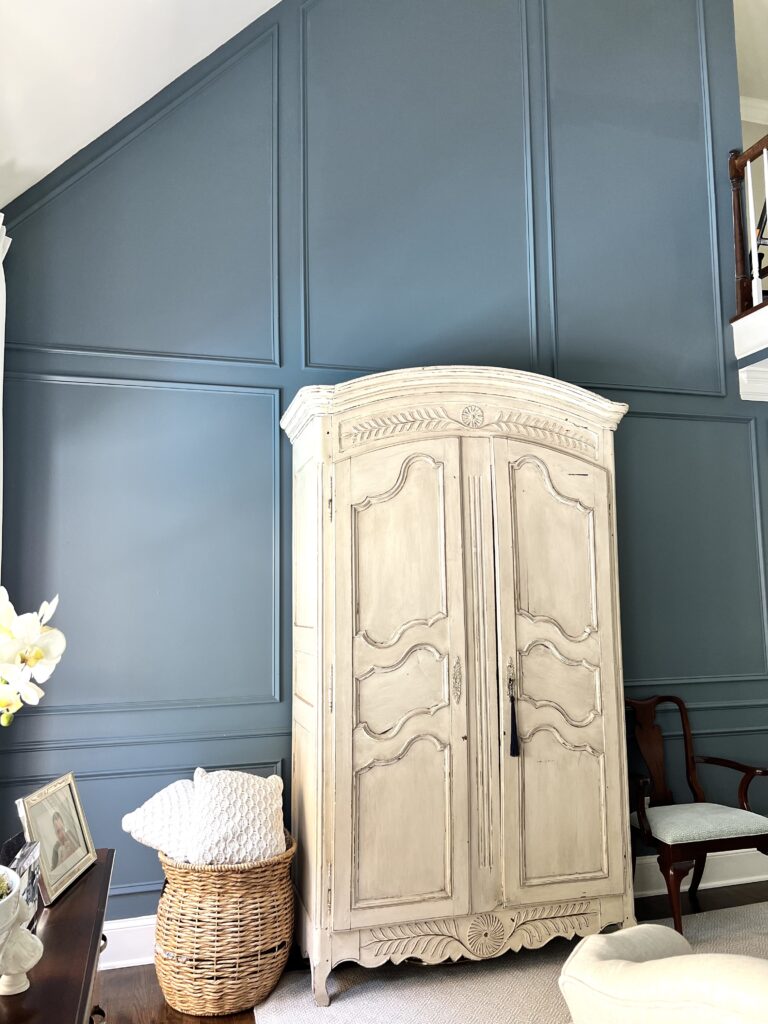
PAINT COLOR : Britannia Blue by Ben Moore
Now you know the 6 steps we use to create DIY Wainscoting in multiple rooms in our house! To see this before and after in a quick reel click here. On the opposite side of this room we built custom cabinets and shelves + wainscotting using the Ikea Havsta Cabinets which you can see on this post (full tutorial coming soon).
To see more room tranformations check out our daughter’s nursery reveal.
Let us know if you try it or have any questions!
-Lo & Trey Chandler


No Comments