
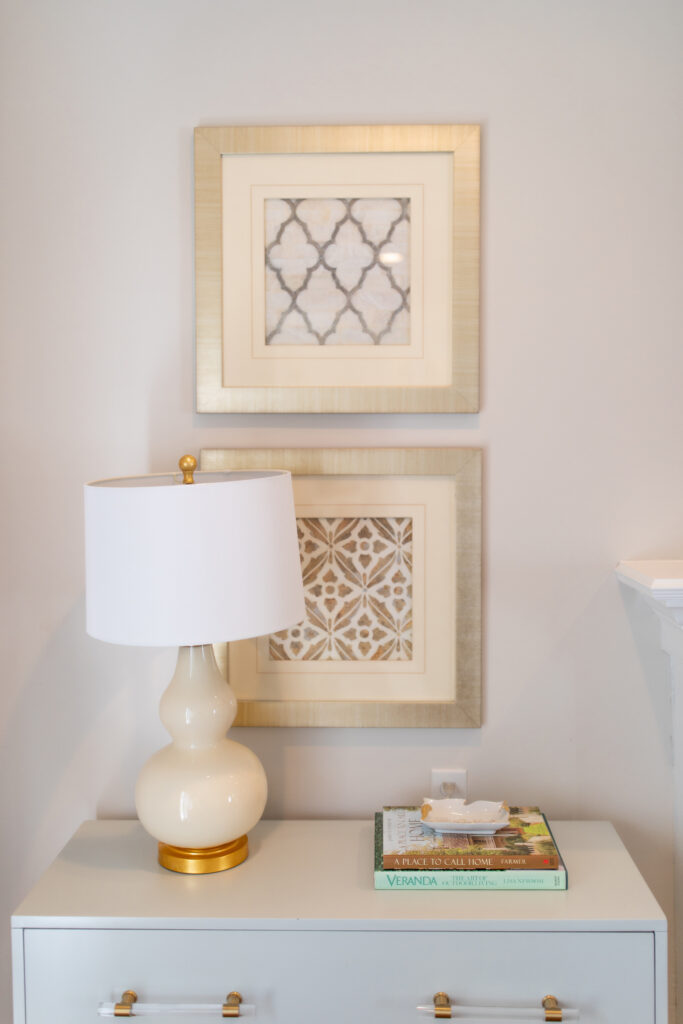
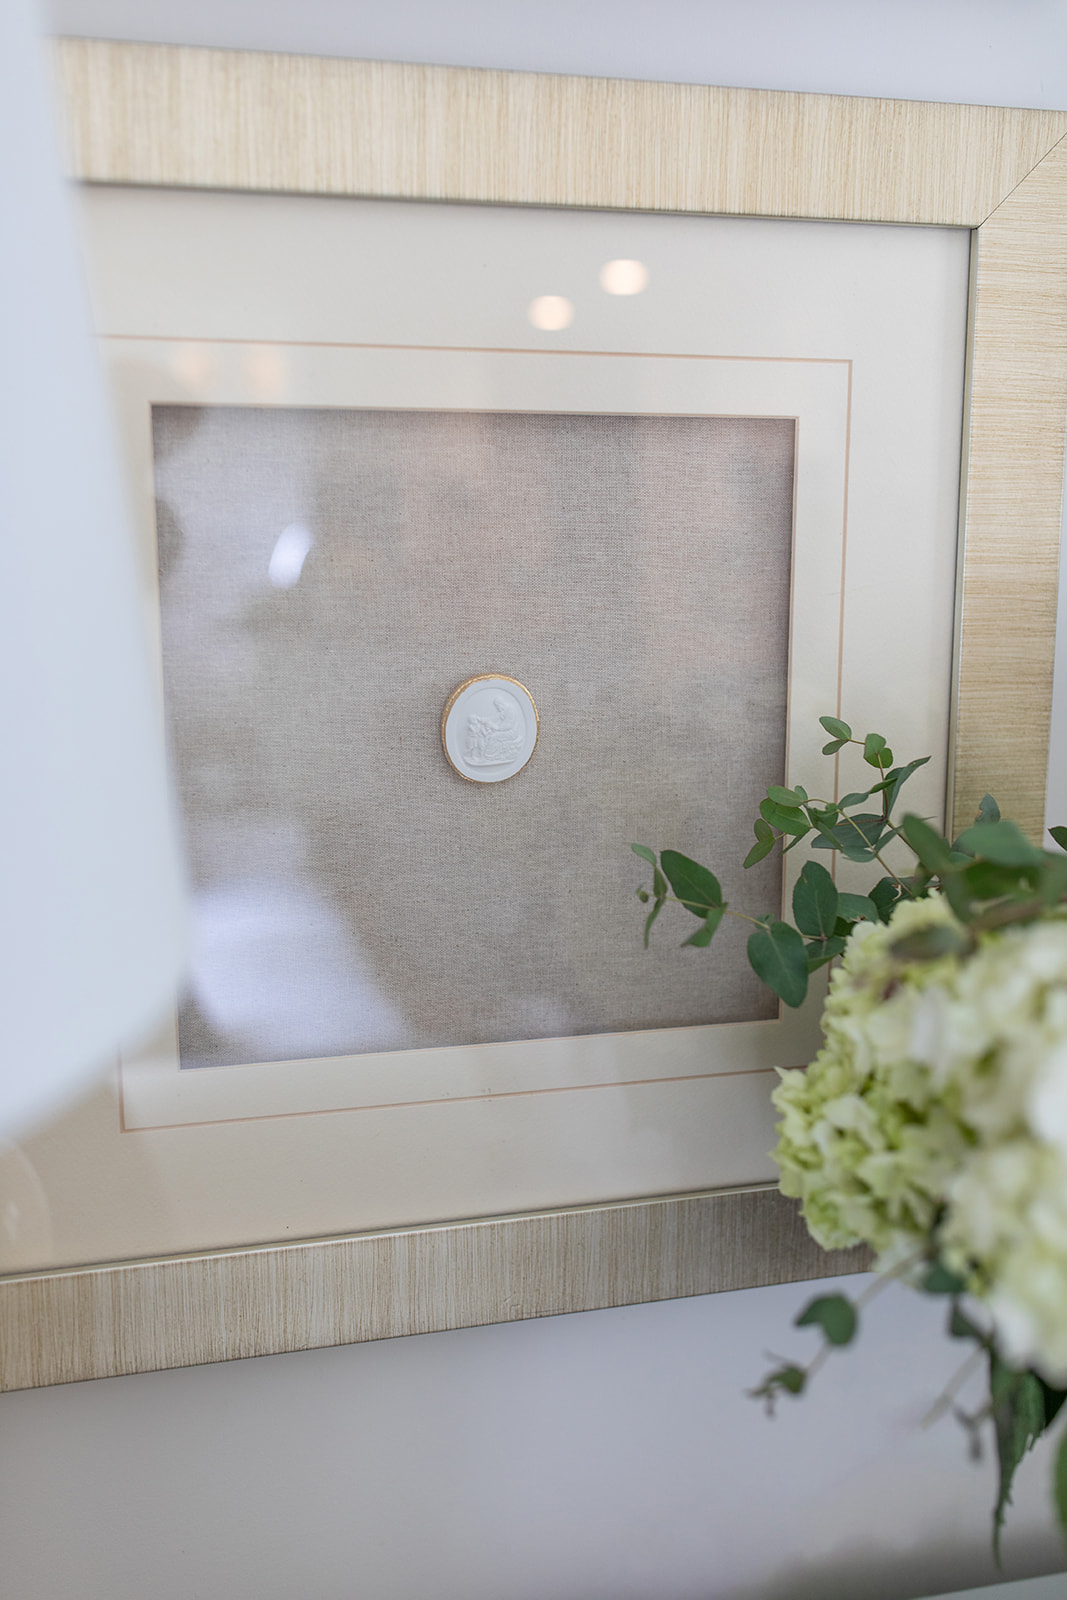
Do you love the look of intaglios but don’t love the designer cost? This is your sign to skip the high price tag and just create your own! Keep reading to see how I created my own DIY Intaglios for less than $100!
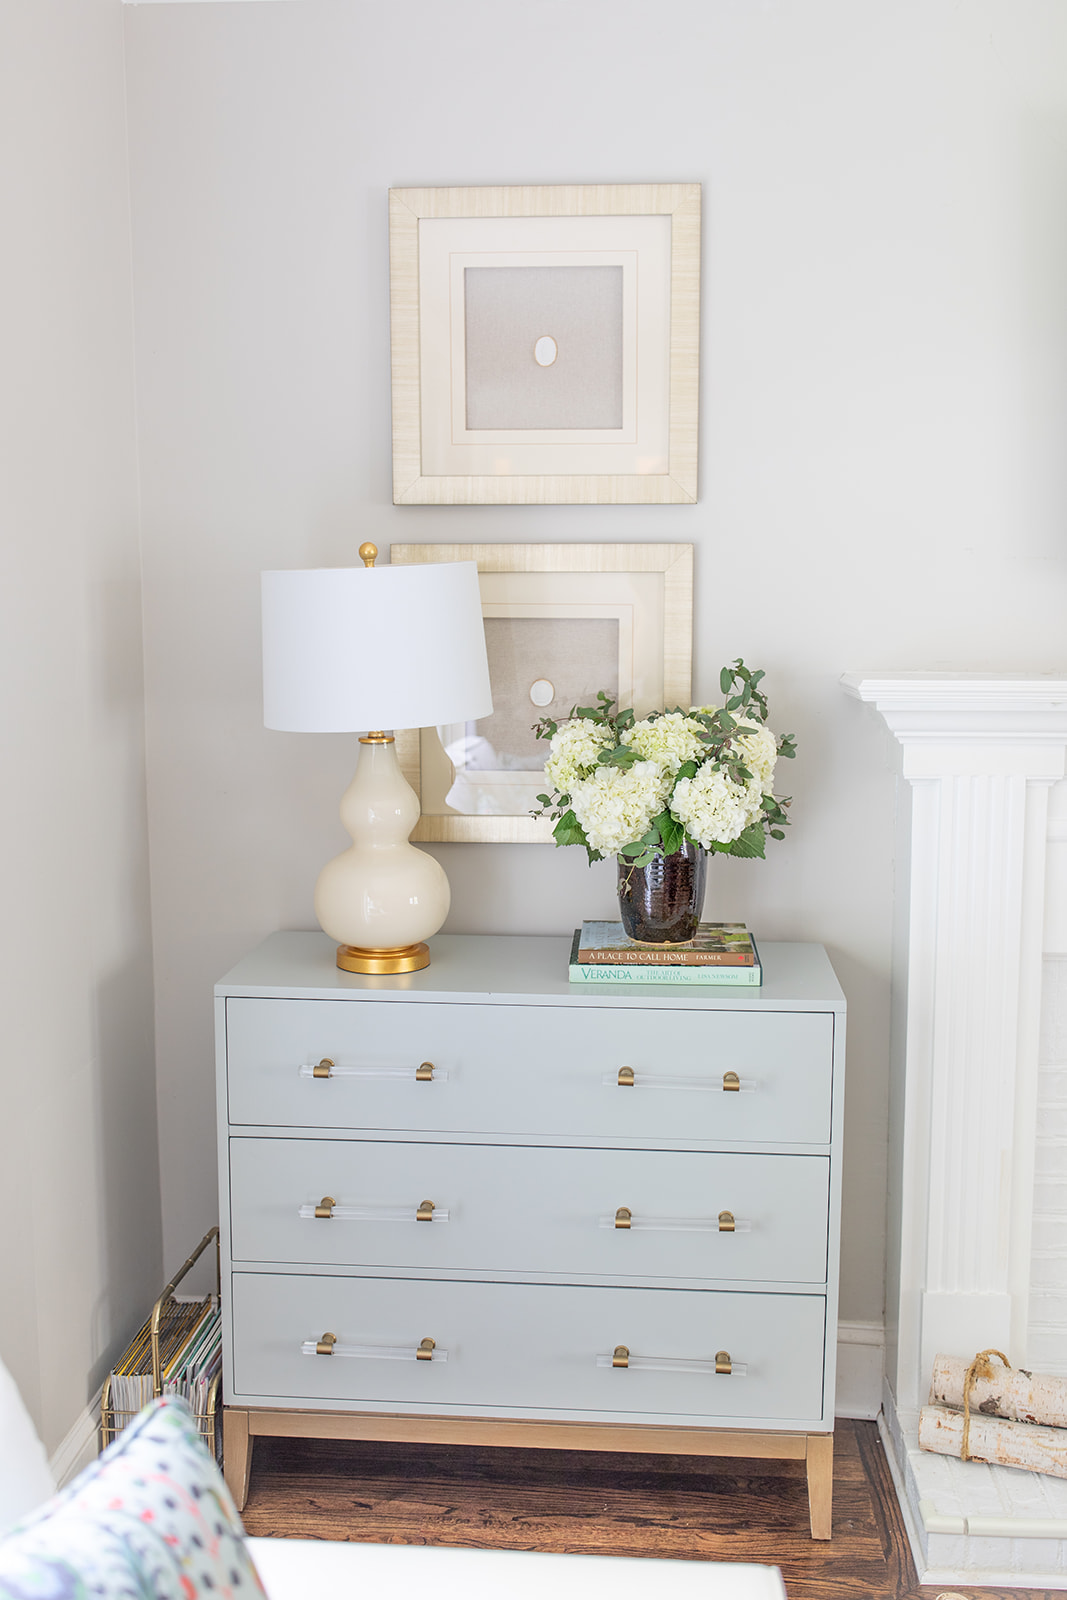
I originally wanted these intaglios from Ballard Designs. At just under $500 a piece, I would be spending around $2,000 for 4. After some deep dive searches on Etsy, I came across these and fell in love with the gold leaf trim. I immediately ordered 4 and was determined to create a dupe.
What is an Intaglio?
Historically, intaglios are images engraved in stone or another raw material where the design is sunk into the surface (think the opposite of a raised cameo). Intaglios date back to ancient cultures as early as 4000 BC. Today, replicas can be found made out of plaster and are typically seen with ancient Greek inspired designs.
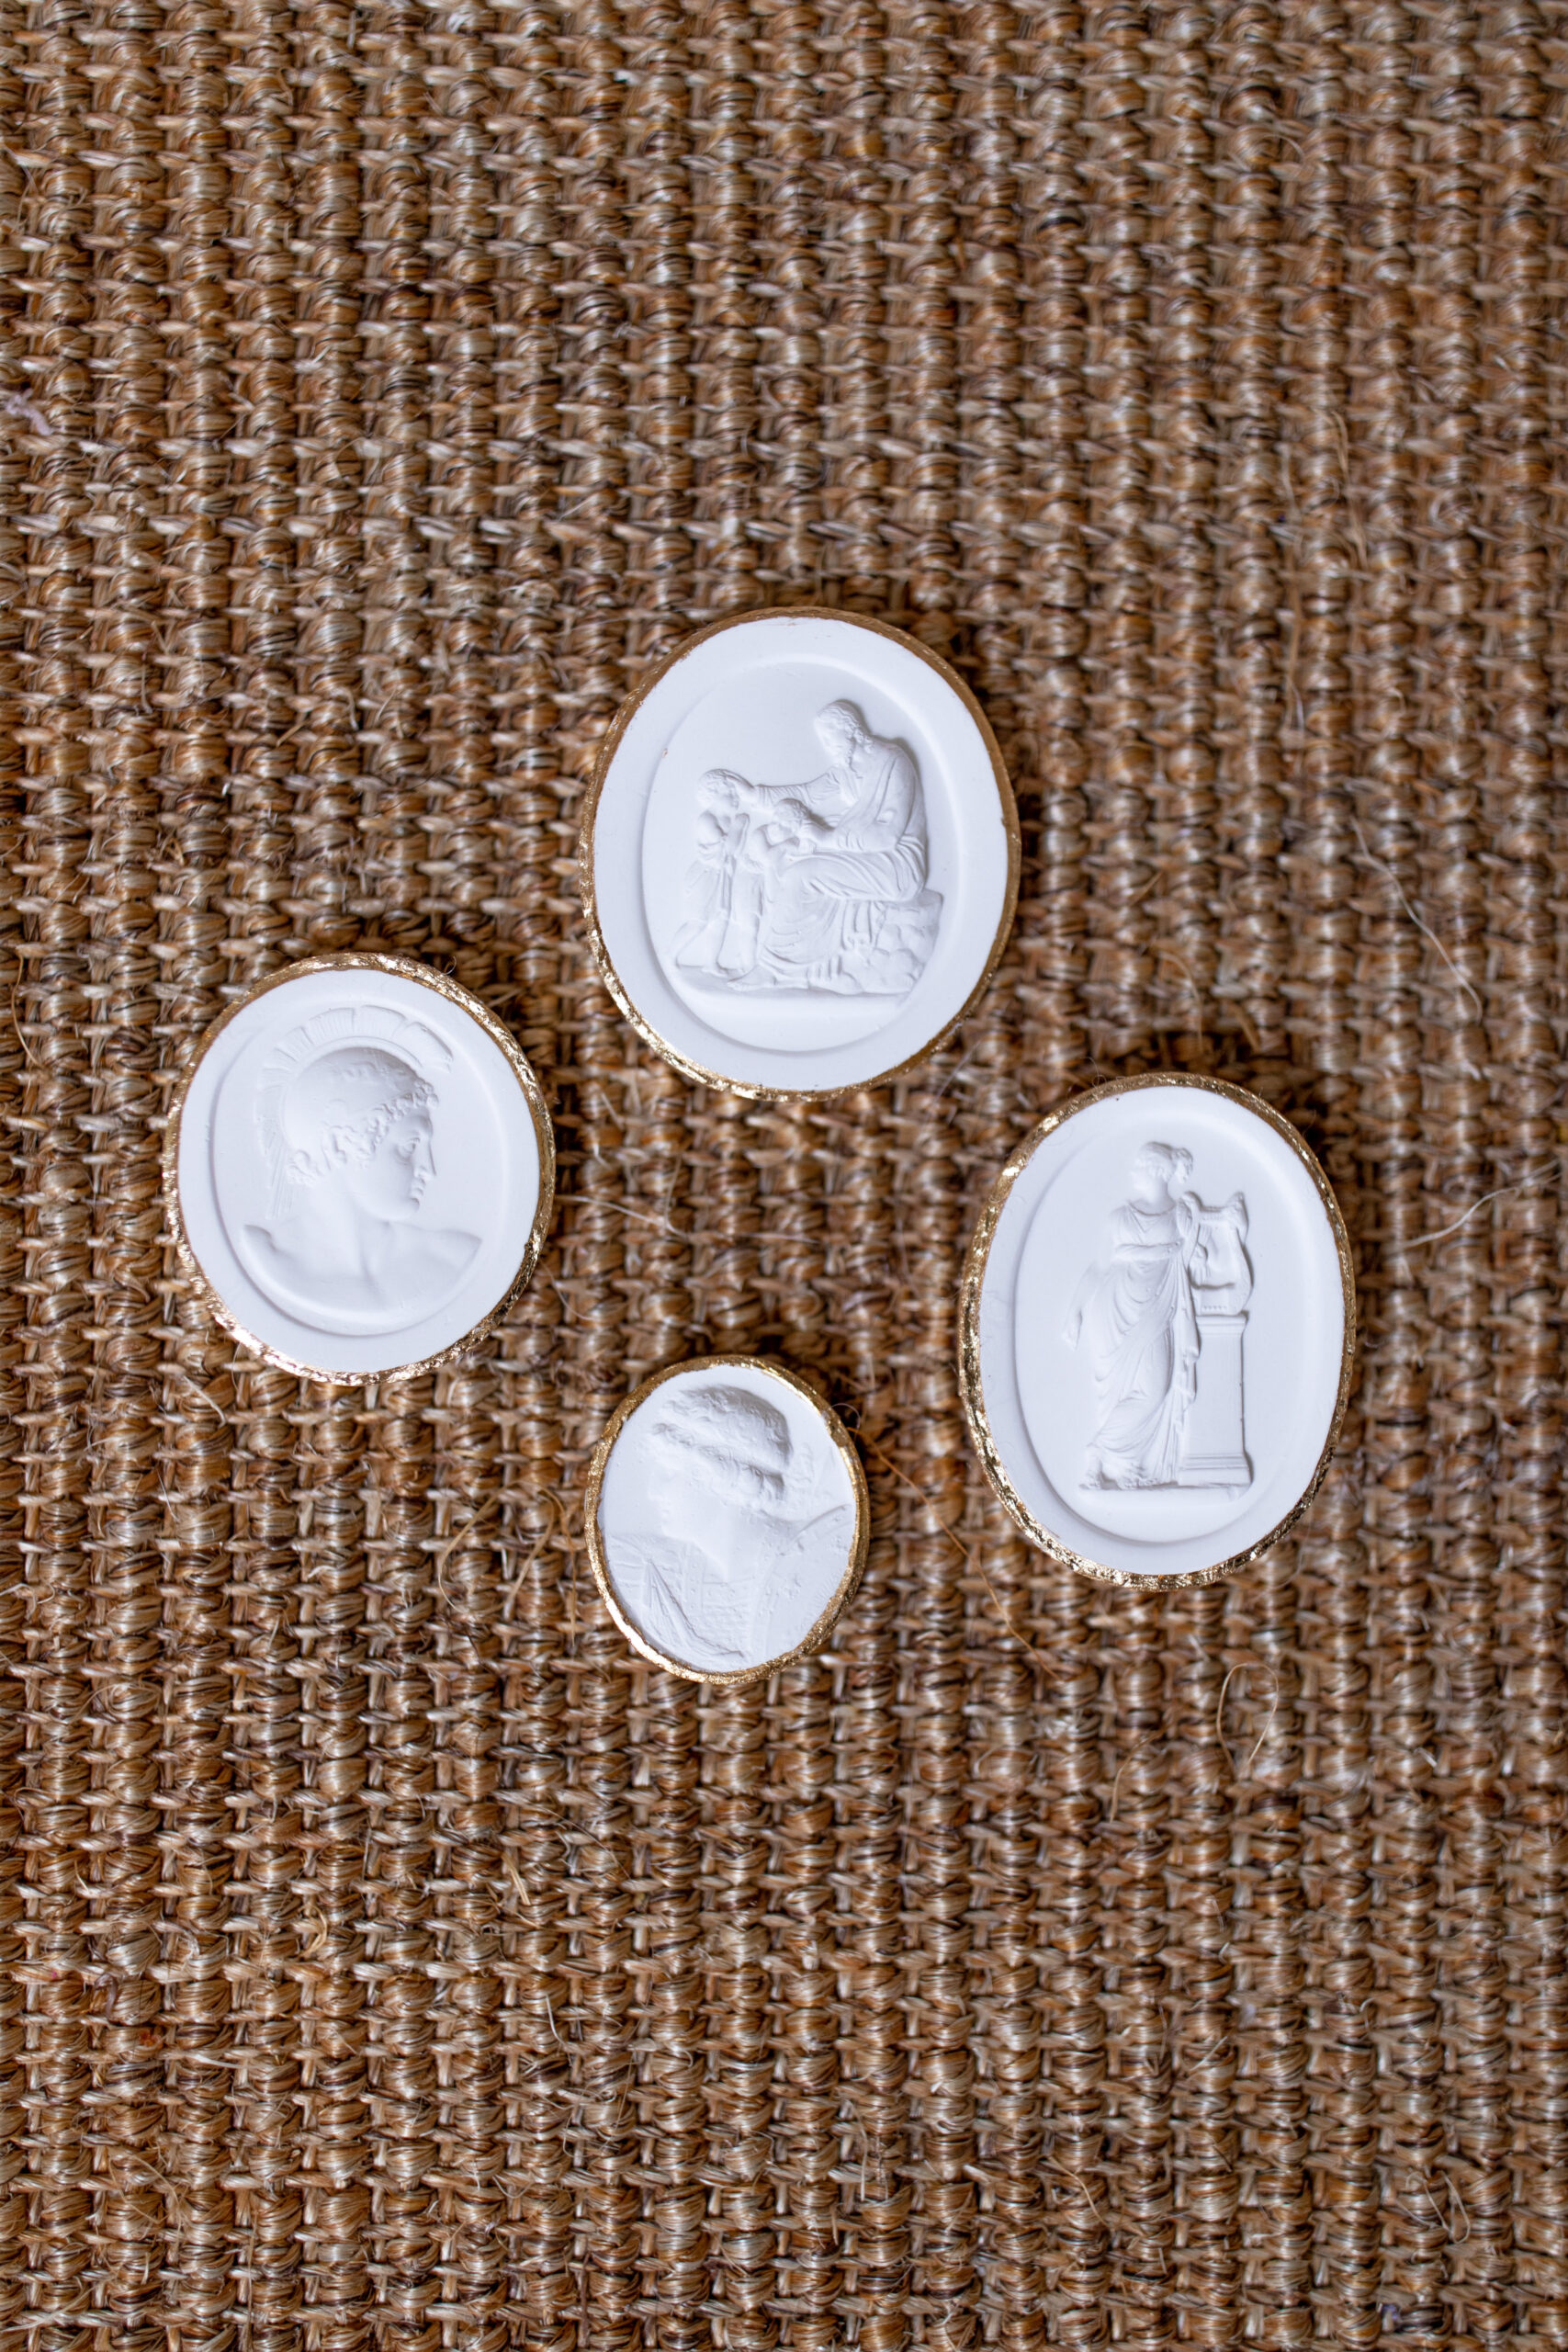
* I didn’t realize when I ordered that one was significantly smaller than the rest, I’m going to order a larger size and swap it out. Make sure to read the dimensions when adding to your cart!
Here’s What You Need:
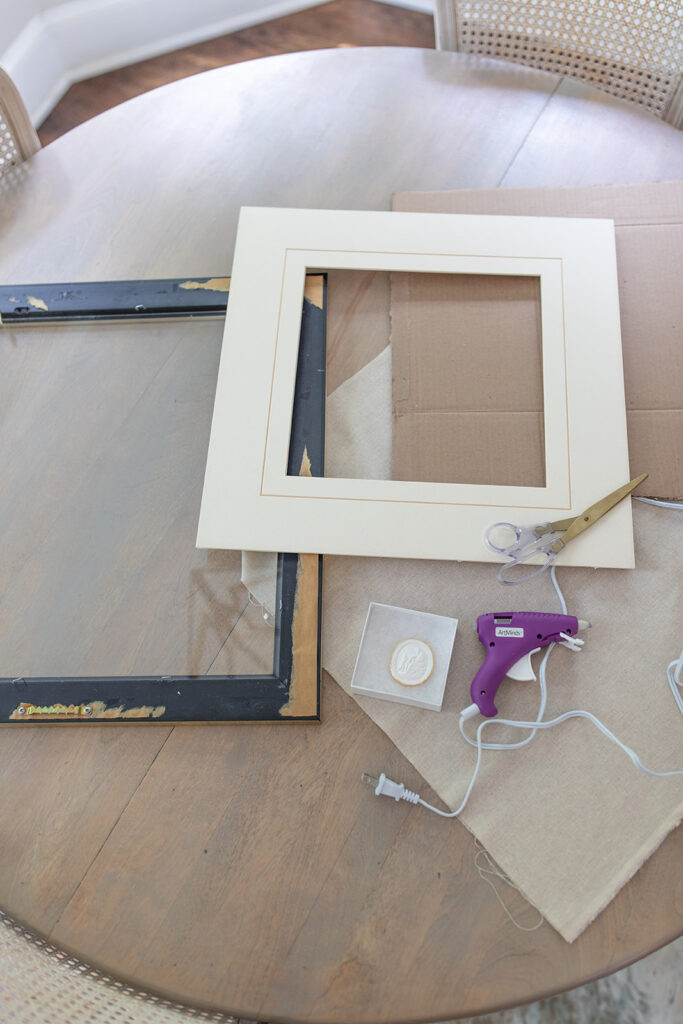
Picture frames (preferably with existing foam matting)
Intaglios ( I adore these from Etsy)
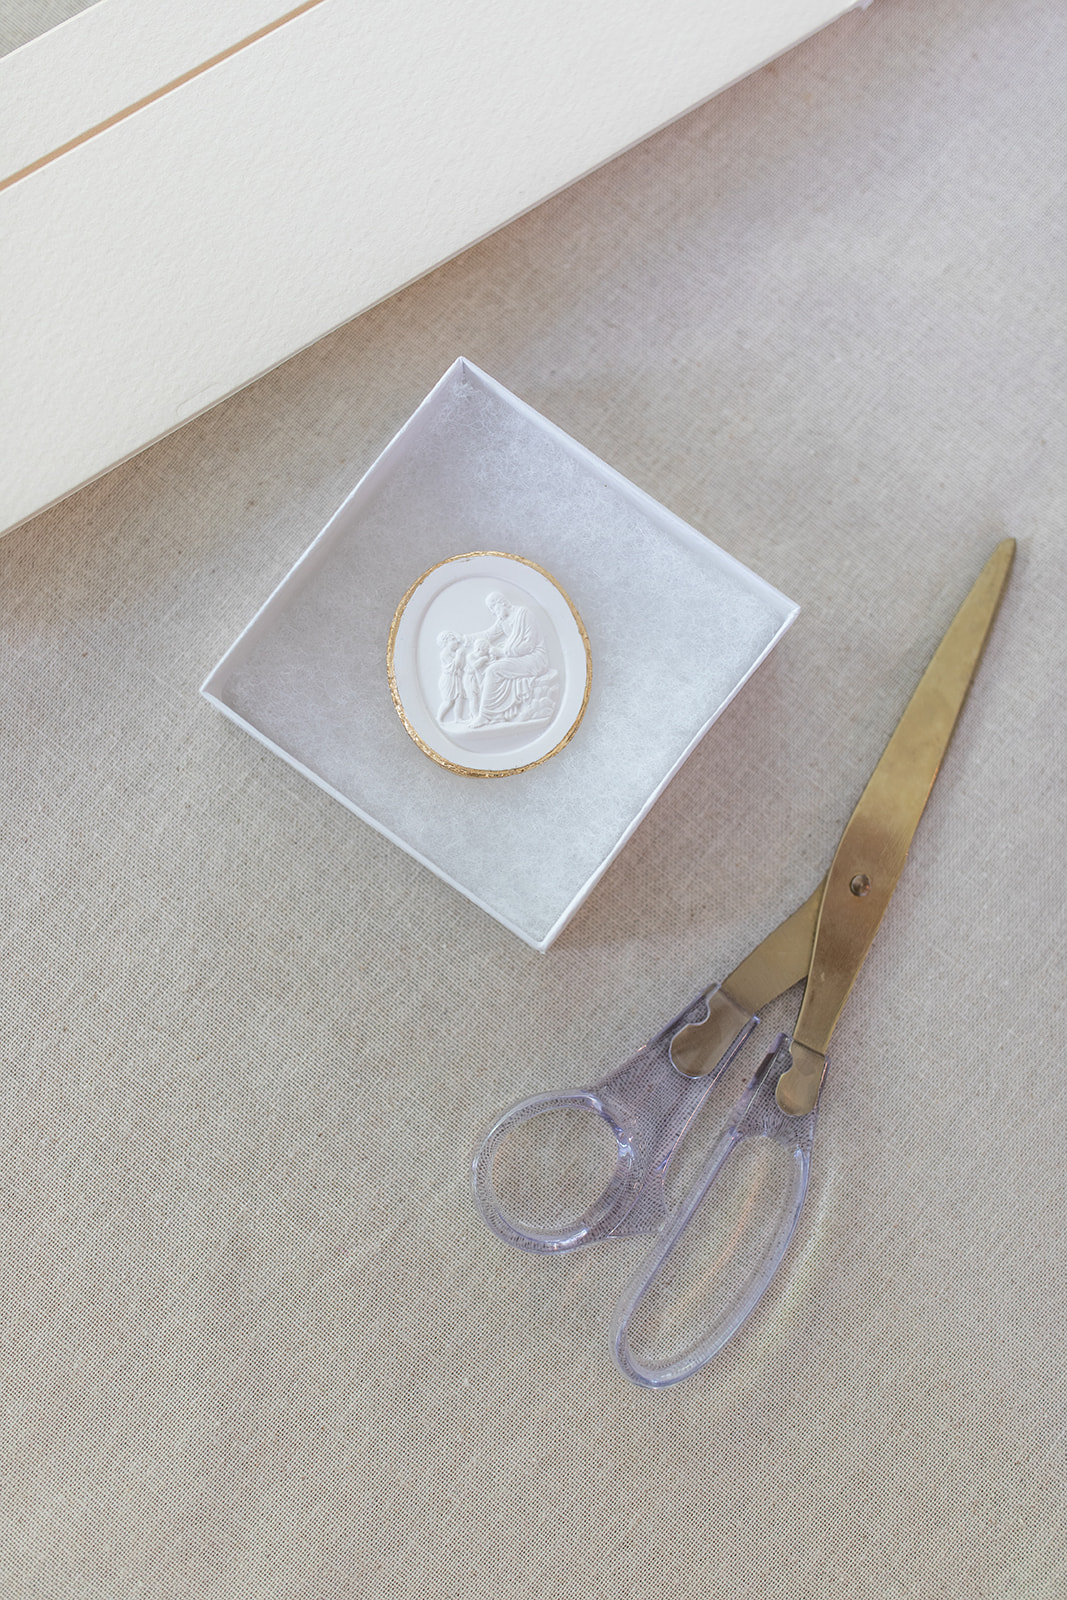
Scissors
Hot glue gun
Fabric (I found a neutral fabric and Joanns and got 3 yards for less than $10)
Cardboard (I broke down a large amazon box)
Tape Measurer
Sharpie
Foam board and matting (only if not already in existing picture frames)
Box cutter & Pliers (depending on your frame & matting)
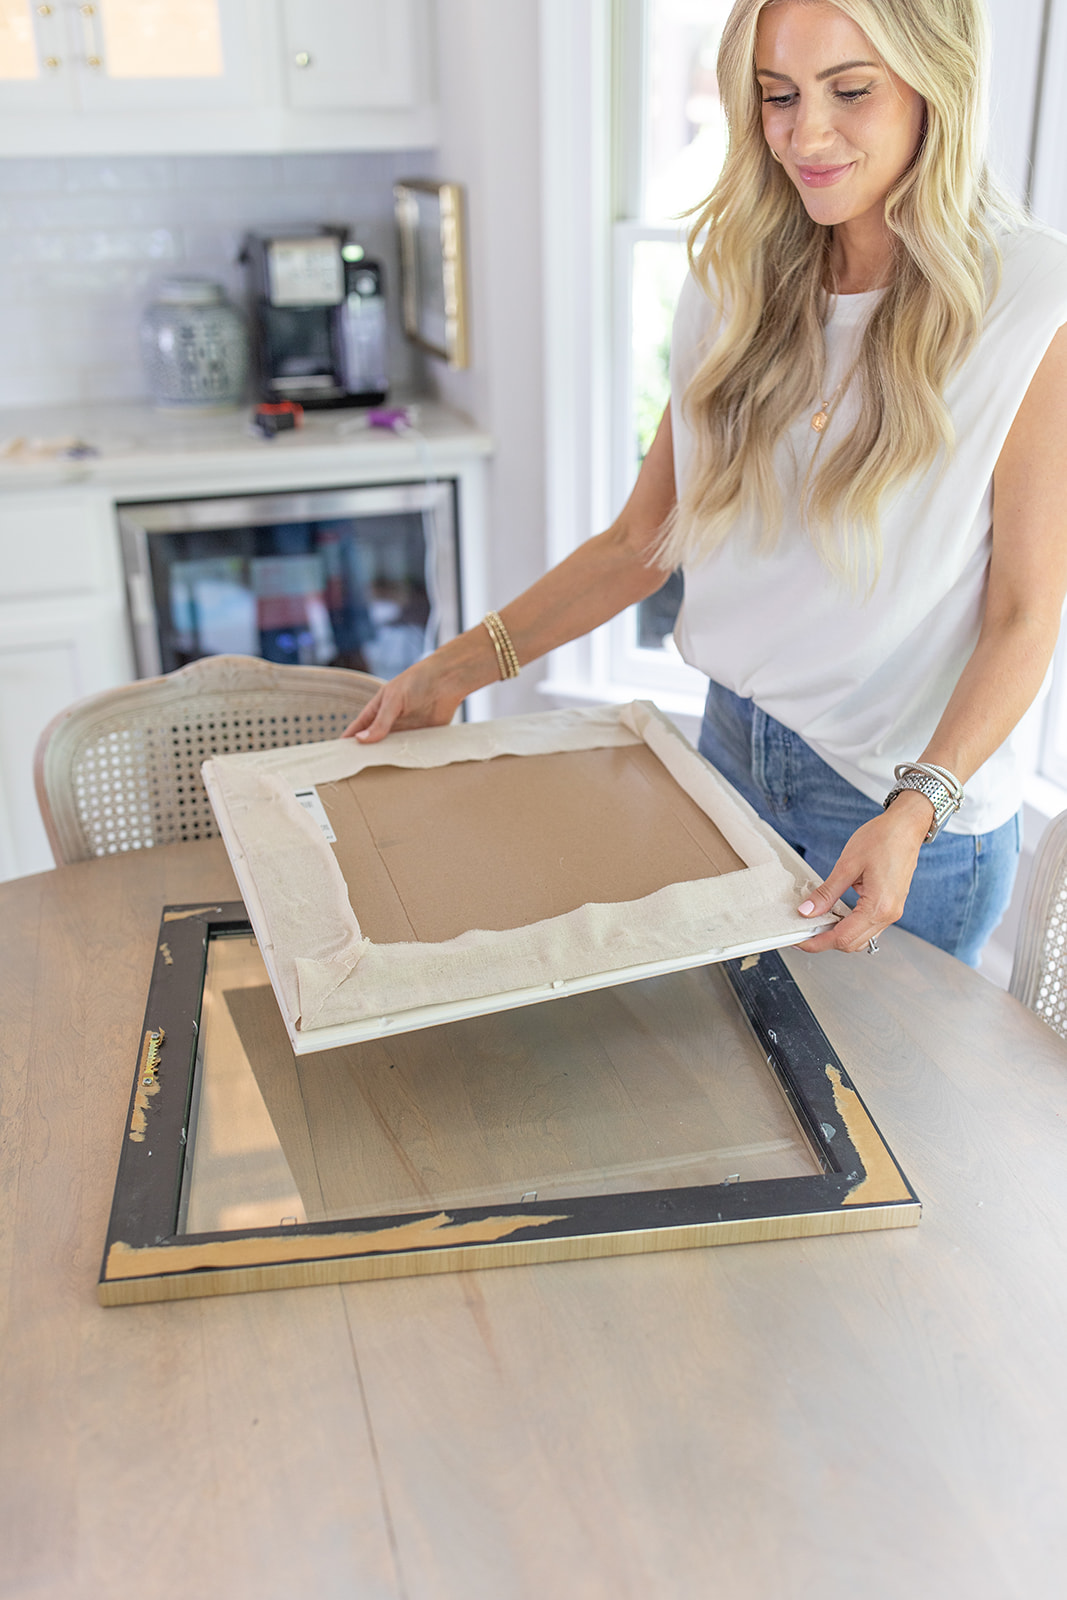
I highly recommend looking for frames with existing art at Goodwill or a thrift shop. I had 4 of these large picture frames that I found at a thrift shop years ago.
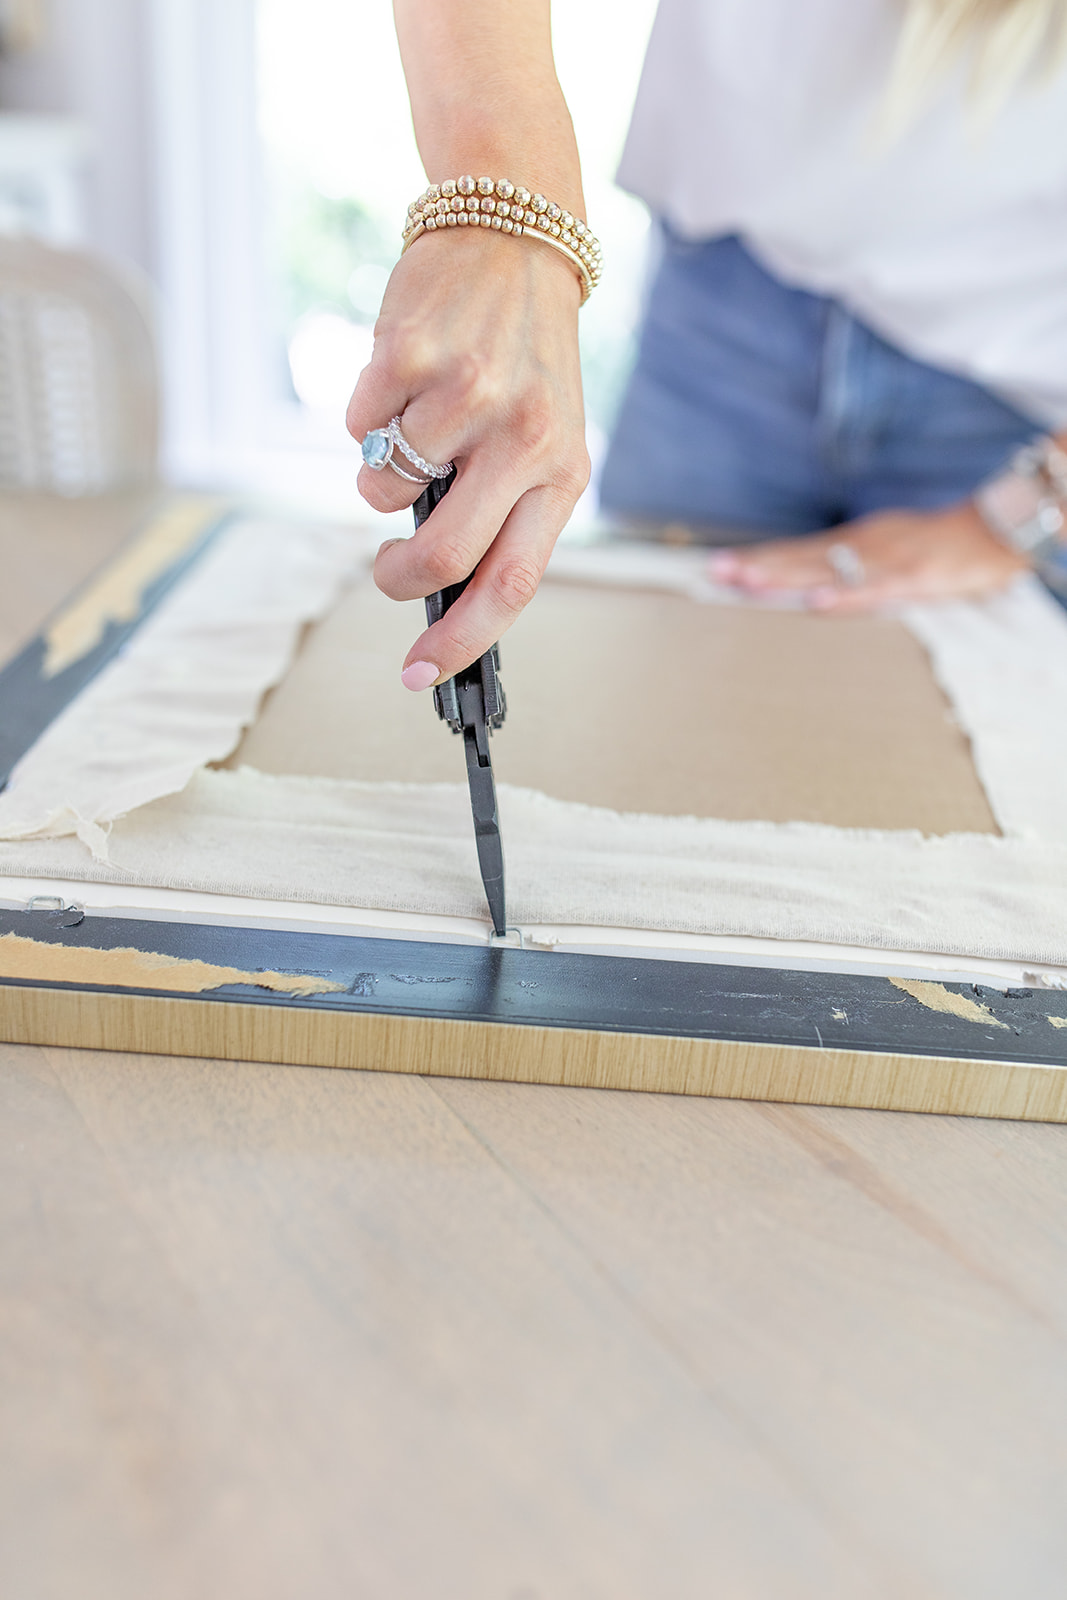
They had brown paper covering the back so I peeled it off and used pliers to pull back the staples. I removed the art & matting and used a box cutter to cut the art out of the frame.
Important Note*
Luckily, my matting already had foam board on the back of it. If your frames don’t come with the thick, foam board style matting you will need to attach foam board to the back of your mat. You can hot glue the foam board on the matting and use a box cutter to precisely cut out the center. This is an important step because you have to create a space between the matting and the glass. This will ensure there is enough room to display the intaglio without it being crushed against the glass.
Here’s What To Do :
- If using existing frames with art, remove the art and separate it from the matting.
- Assess the matting to see if it has the thick, foam board style mat (if not, you will need to hot glue your mat to a piece of foam board and use a box cutter to cut out the center). See note above for more details.
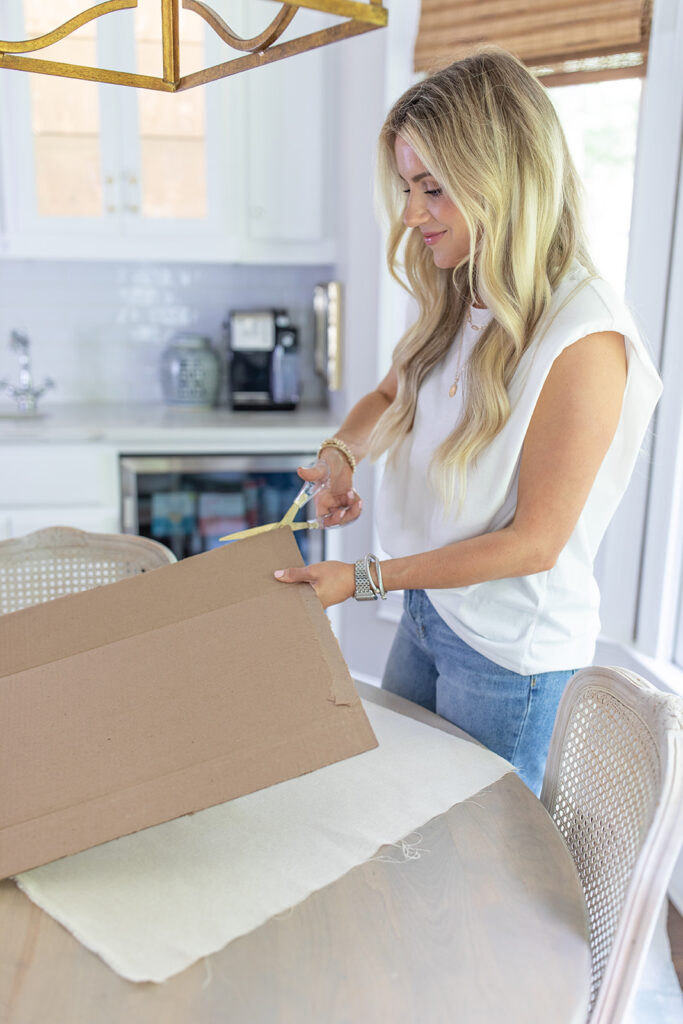
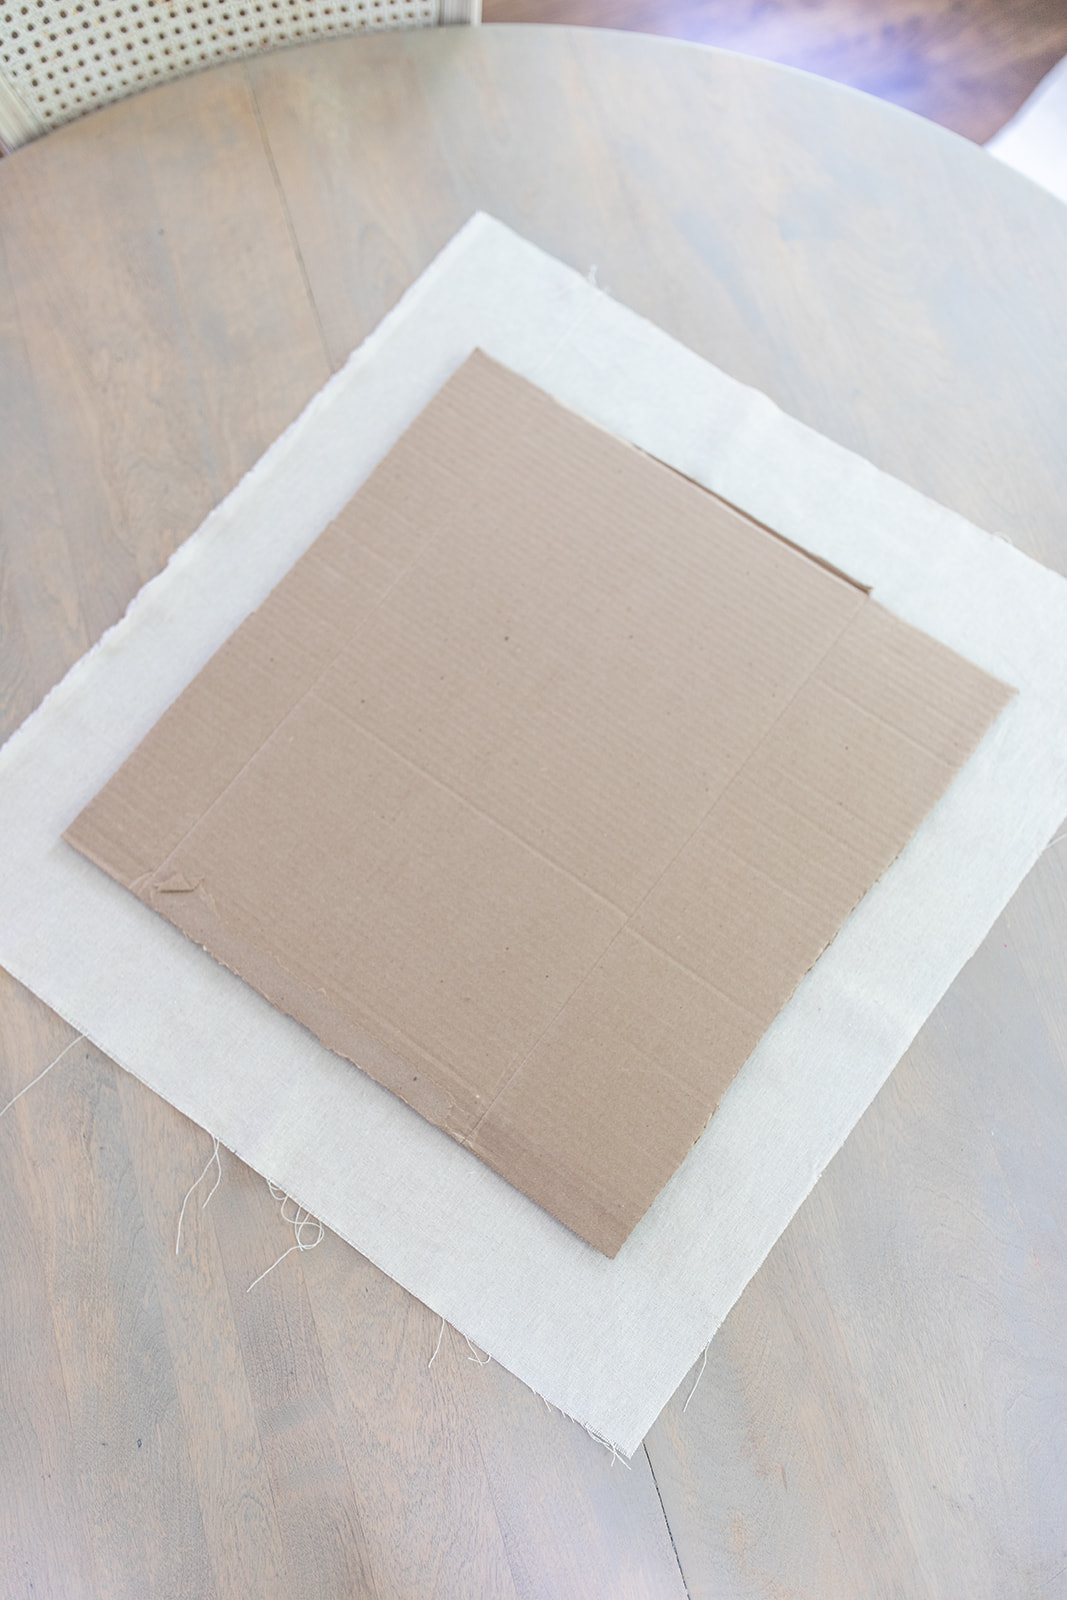
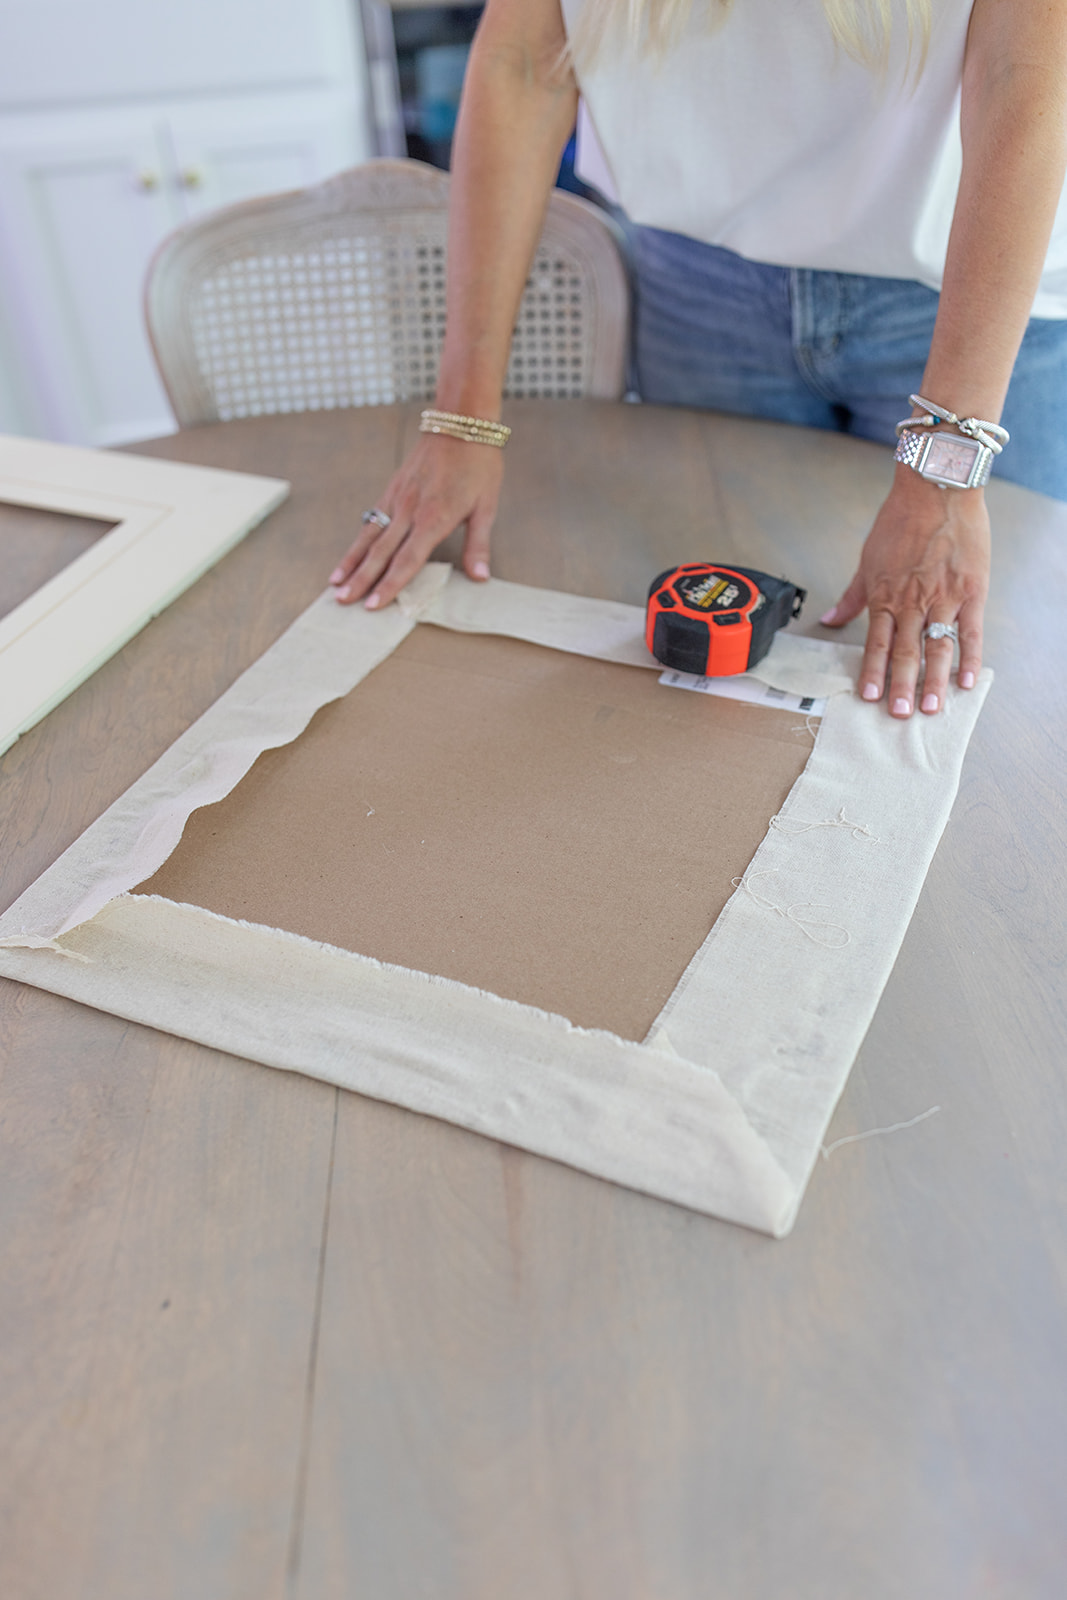
3. Grab a piece of cardboard (I used old Amazon boxes) and cut it so it is the same dimensions as your matting.
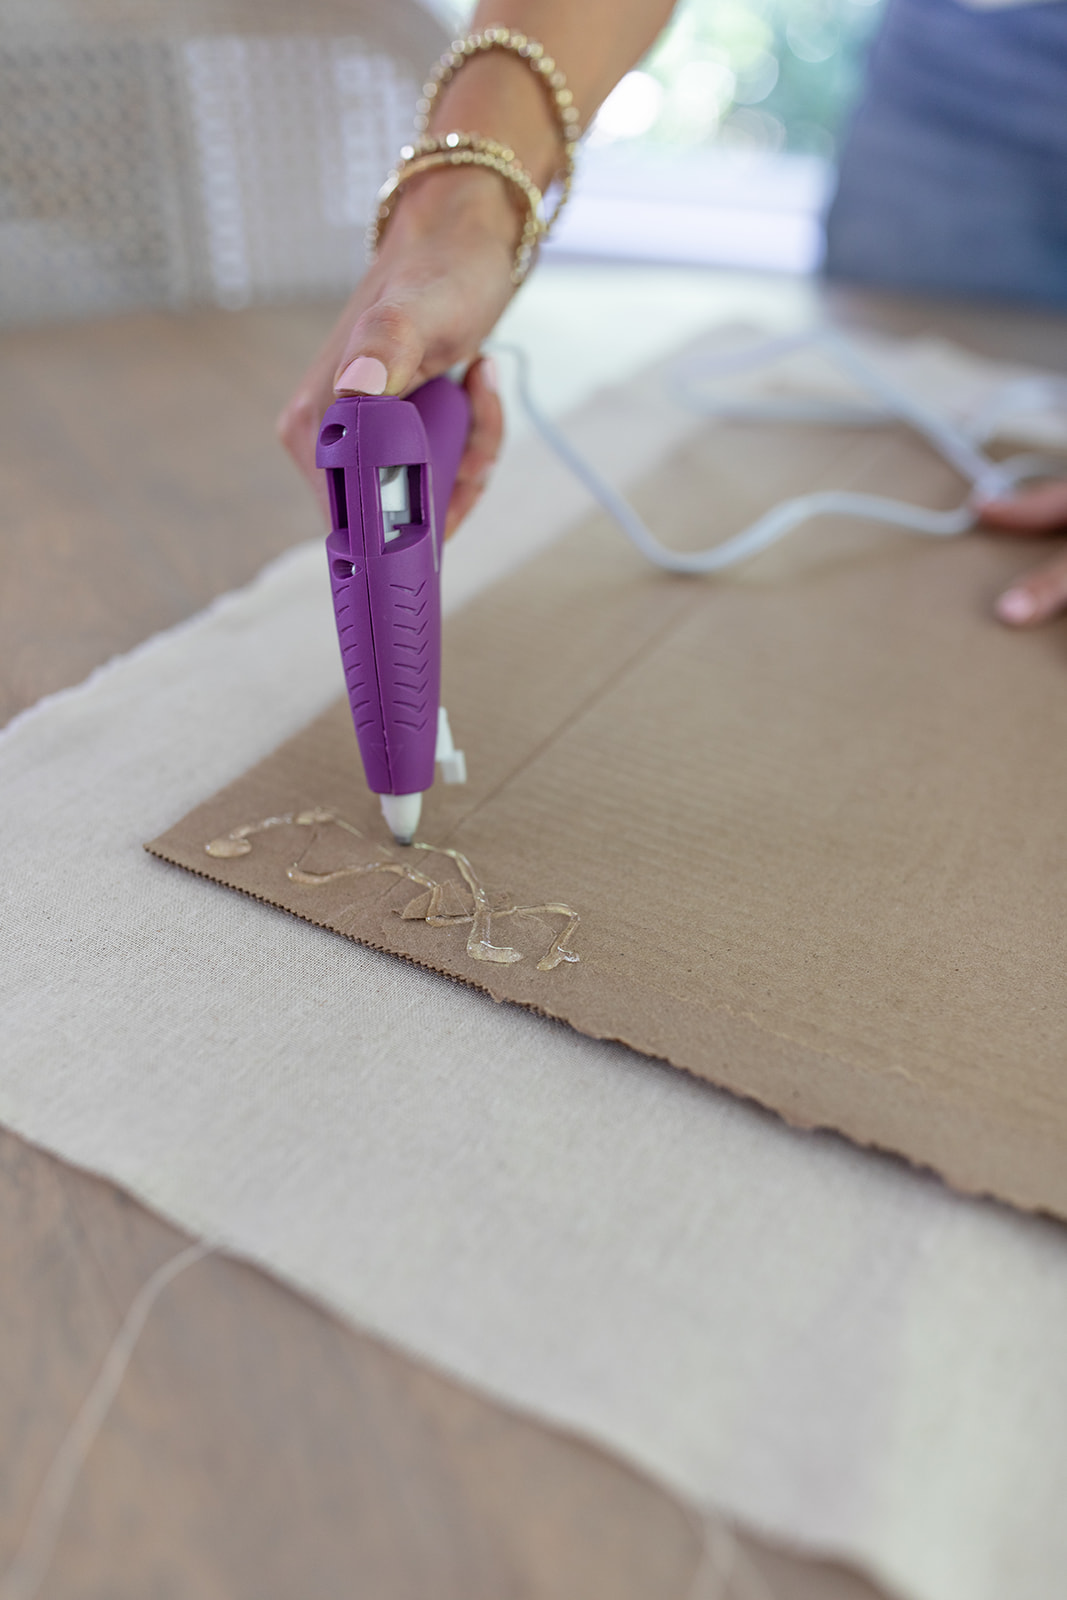
4. Lay out your fabric and place the cardboard on top. Trim fabric so it is about 3 inches longer than the cardboard on all side.
5. Working in small sections, apply hot glue to the perimeter of the cardboard and fold back the fabric to secure in place.
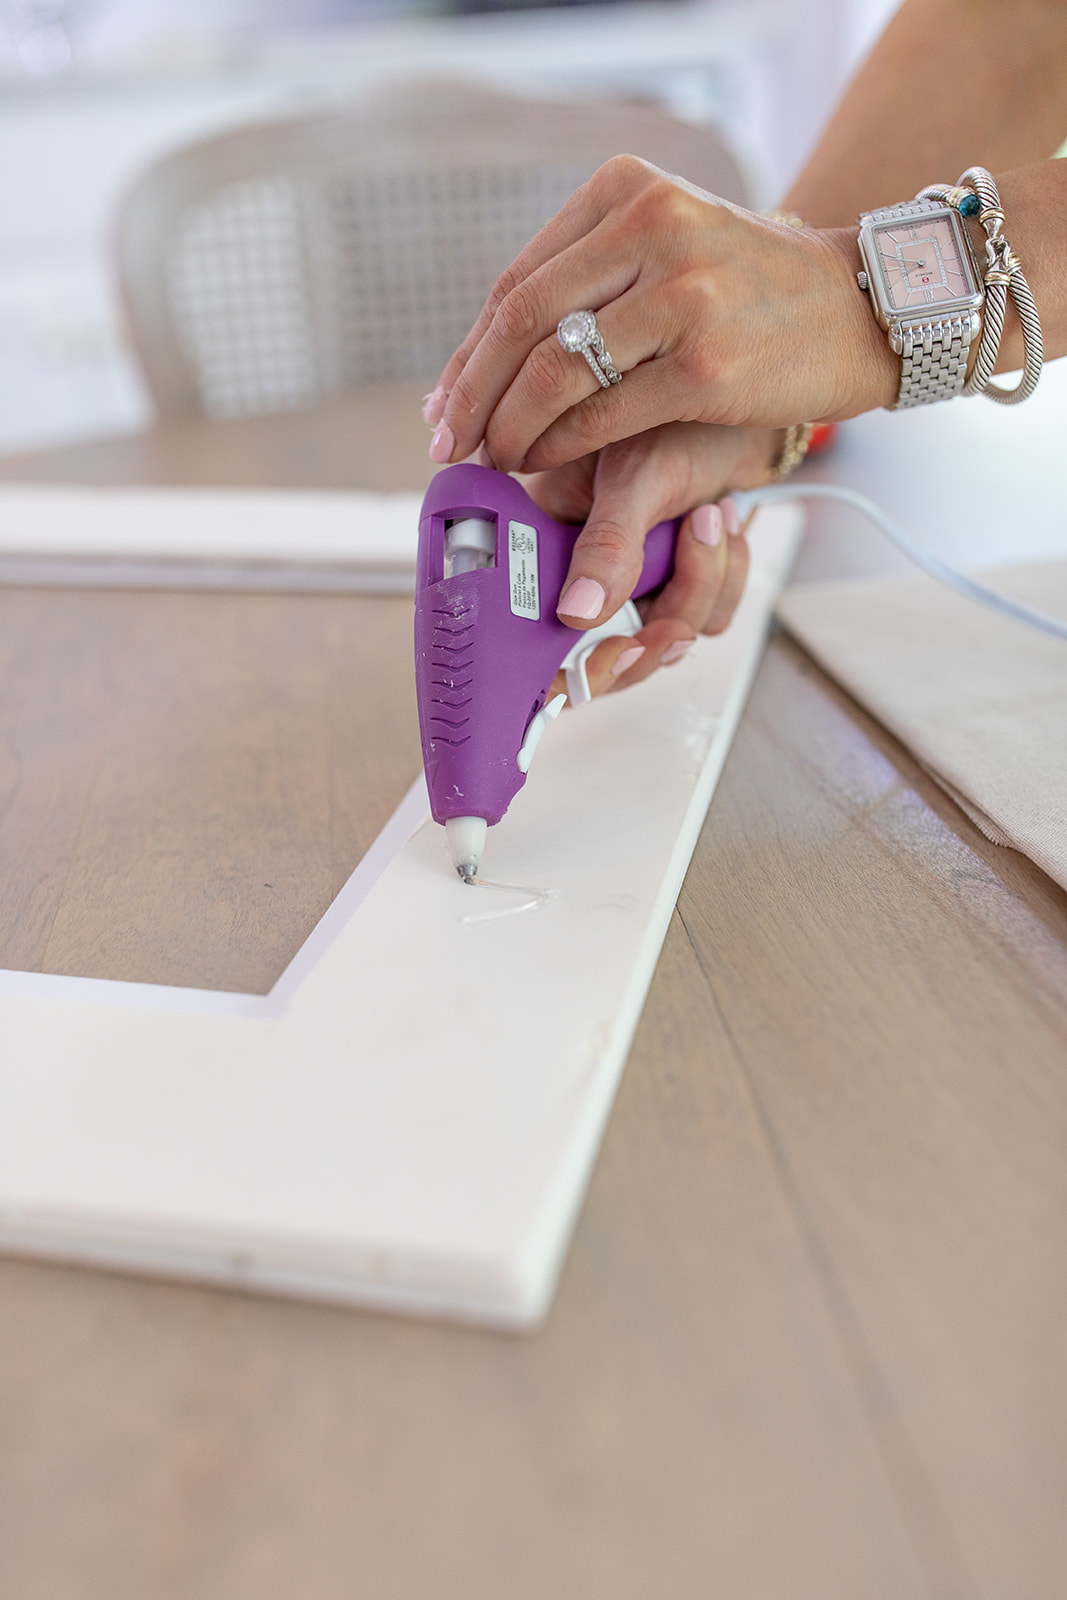
6. Apply hot glue all over the back of the matting and set directly on top of your fabric covered cardboard. You’ll want to work quickly so the glue doesn’t dry.
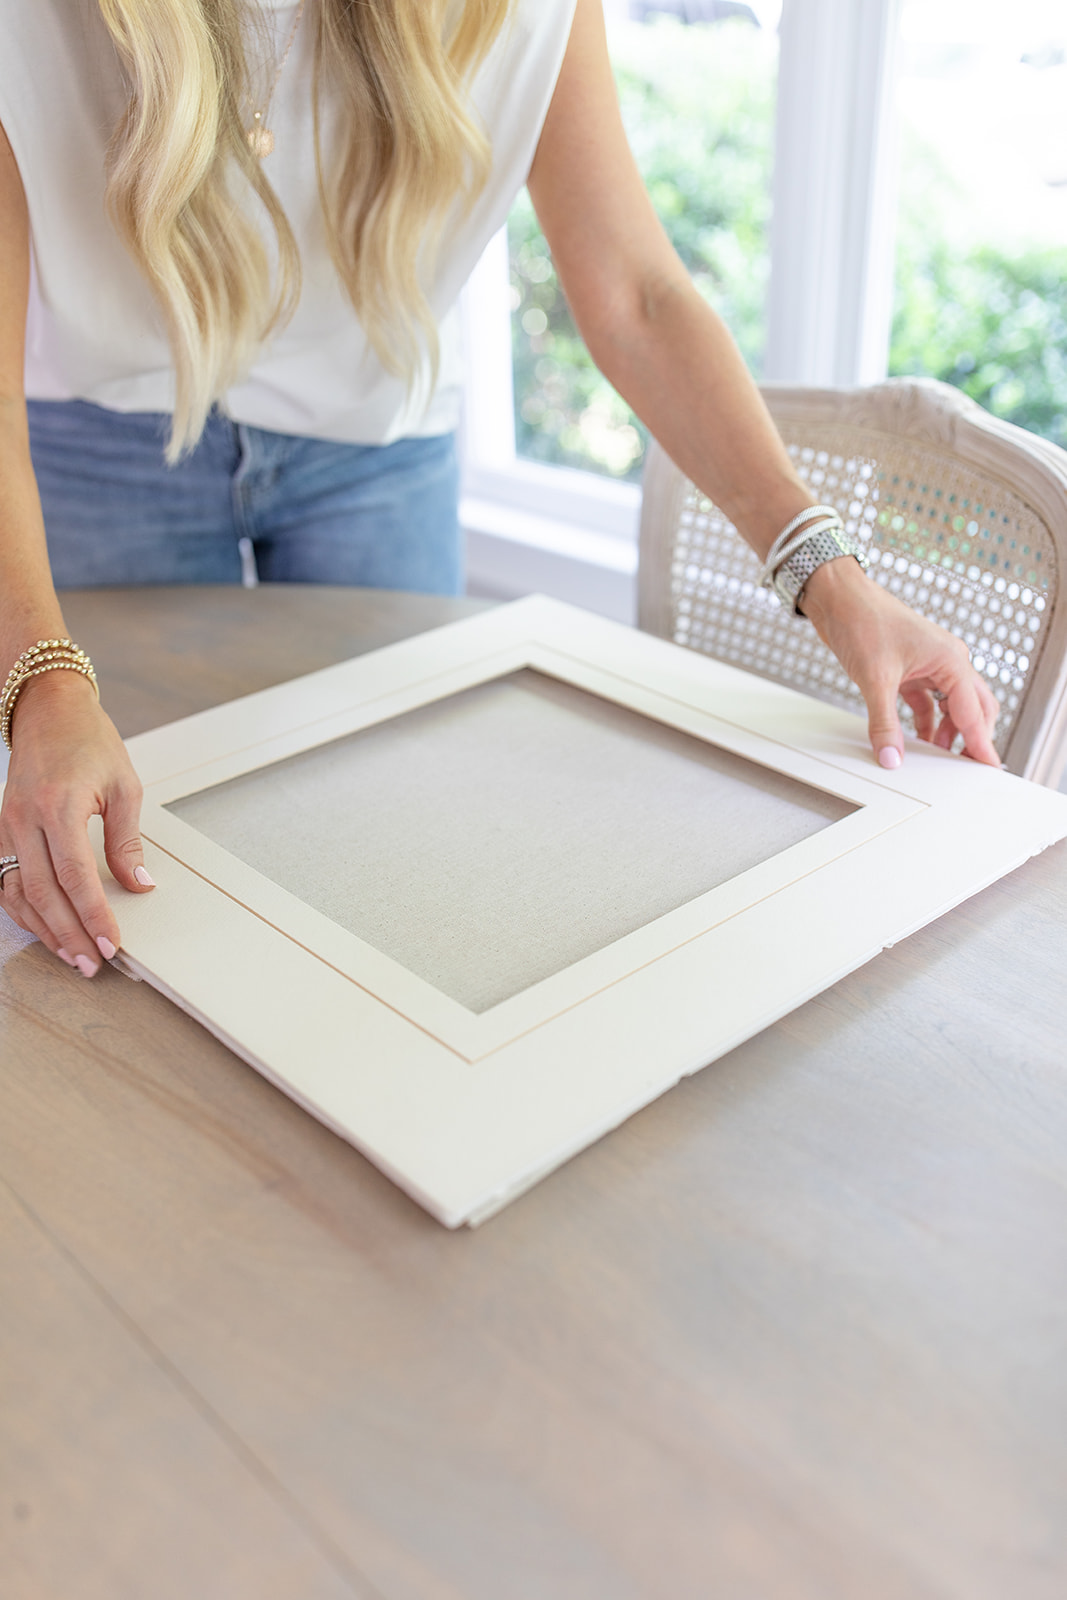
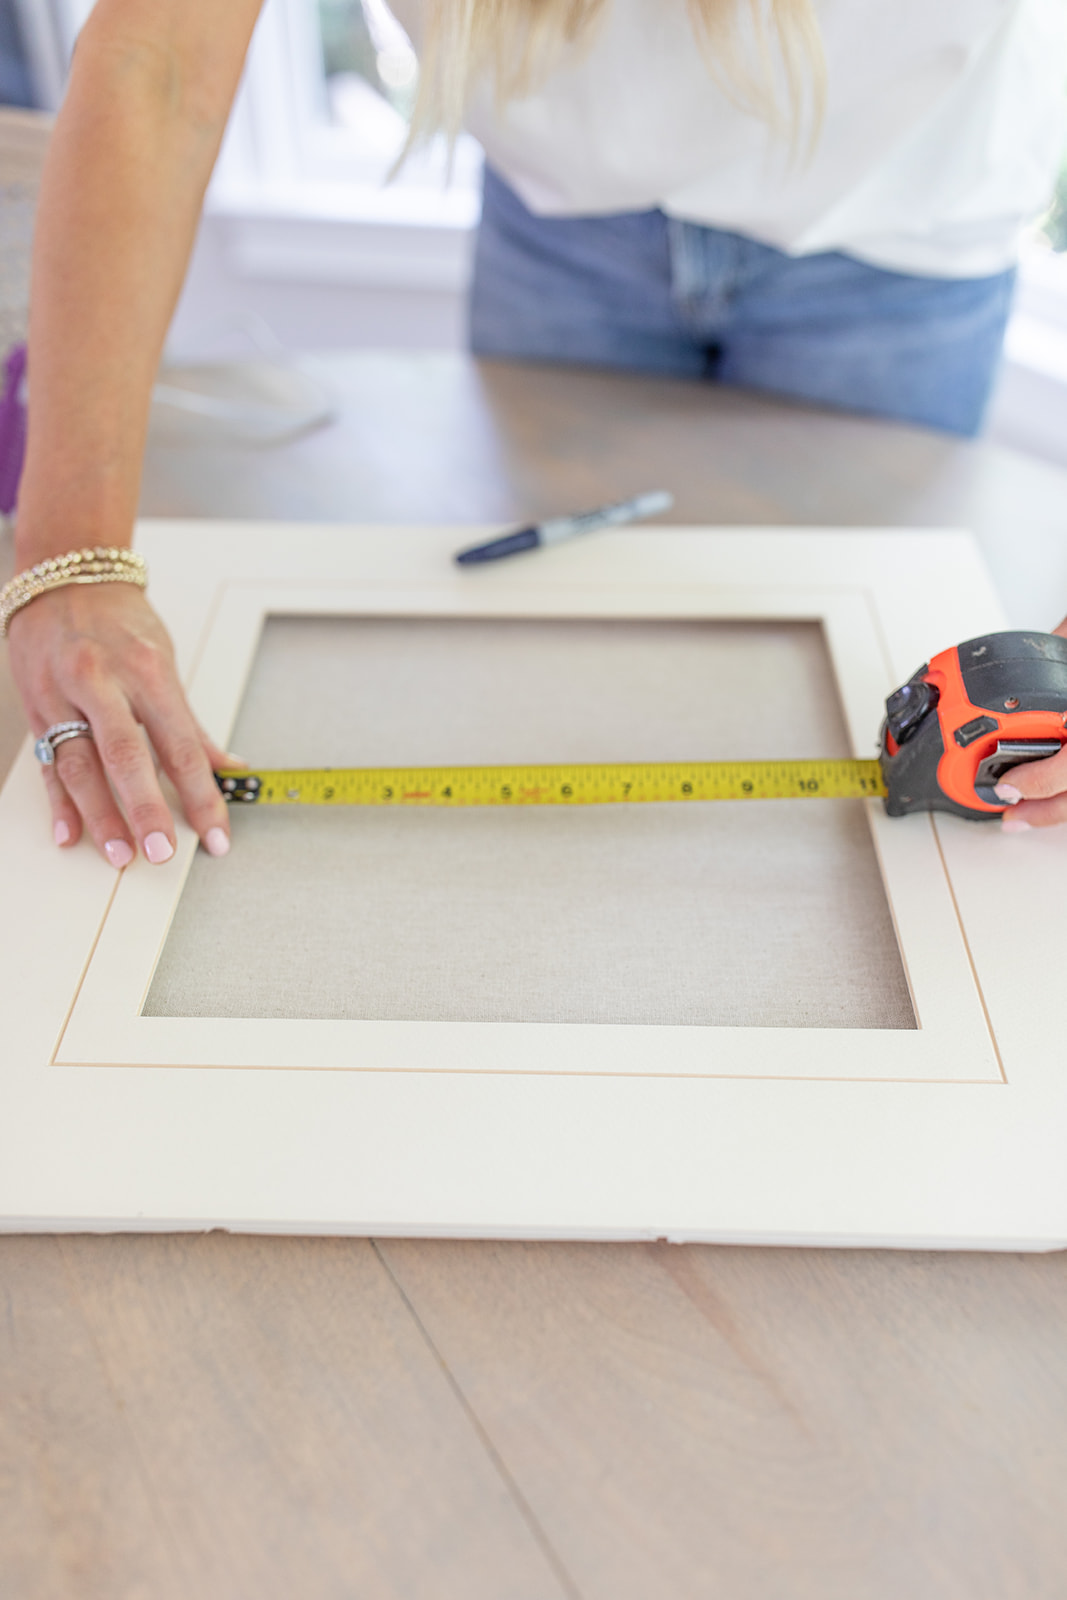
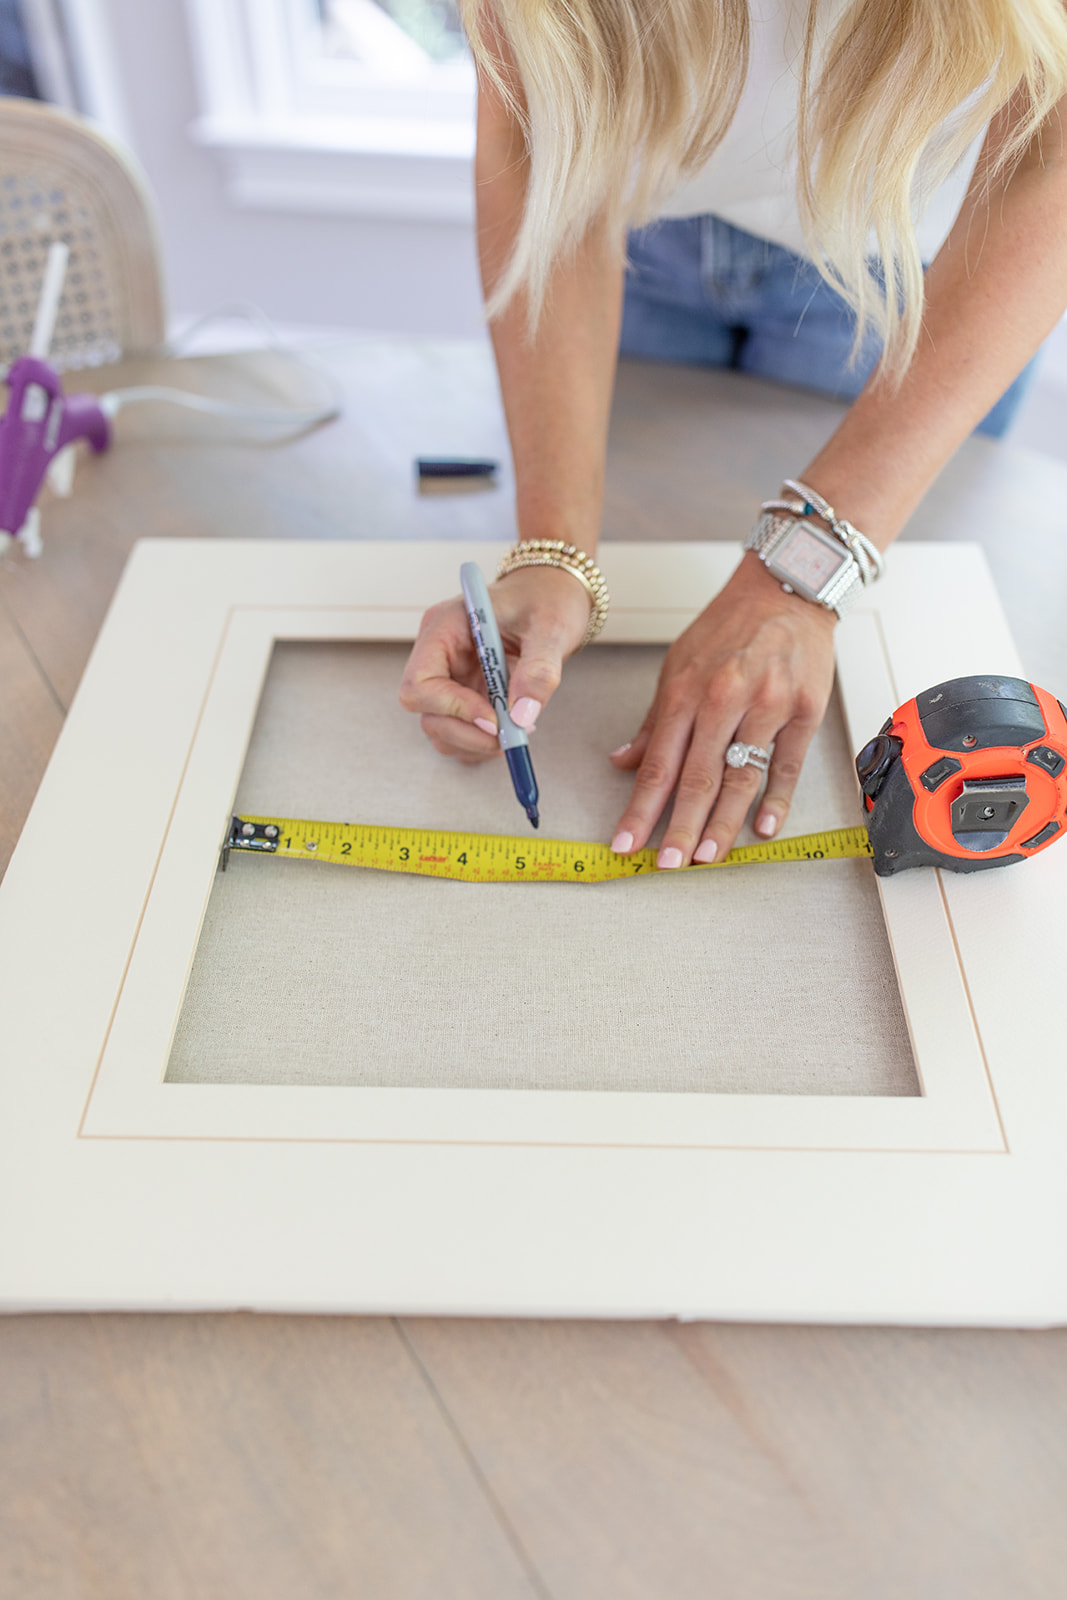
7. Measure the length and width of your opening to find the exact middle. I used a sharpie to mark the spot.
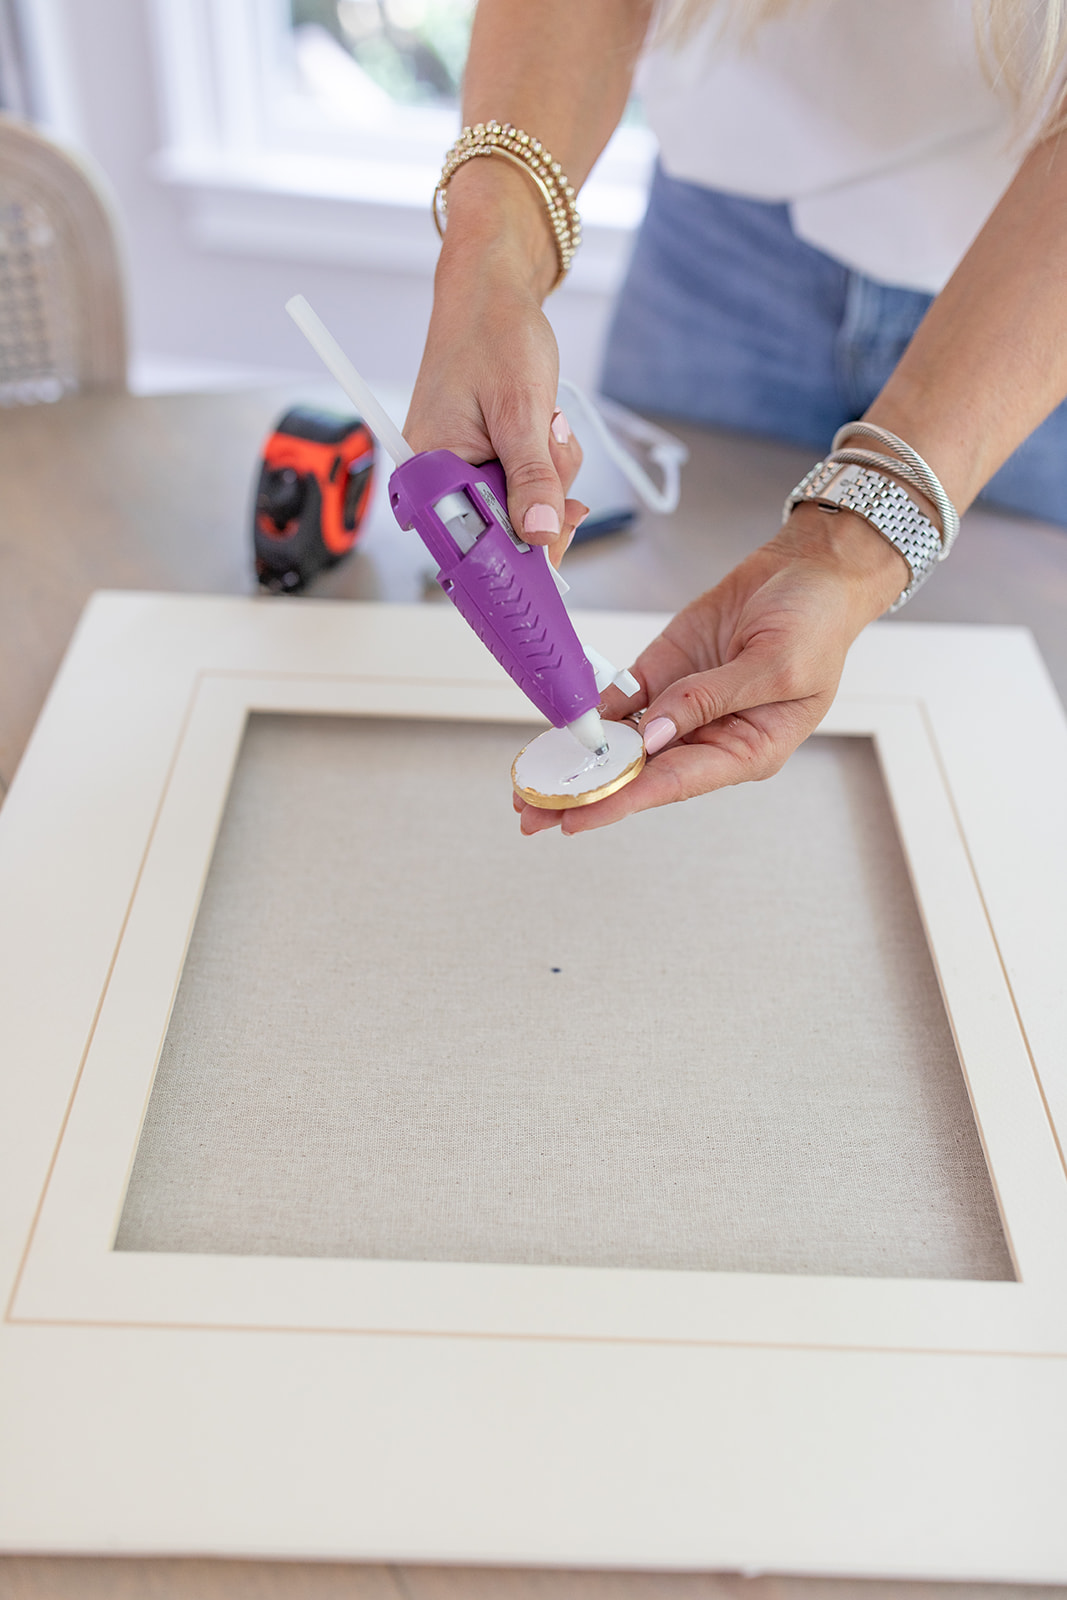
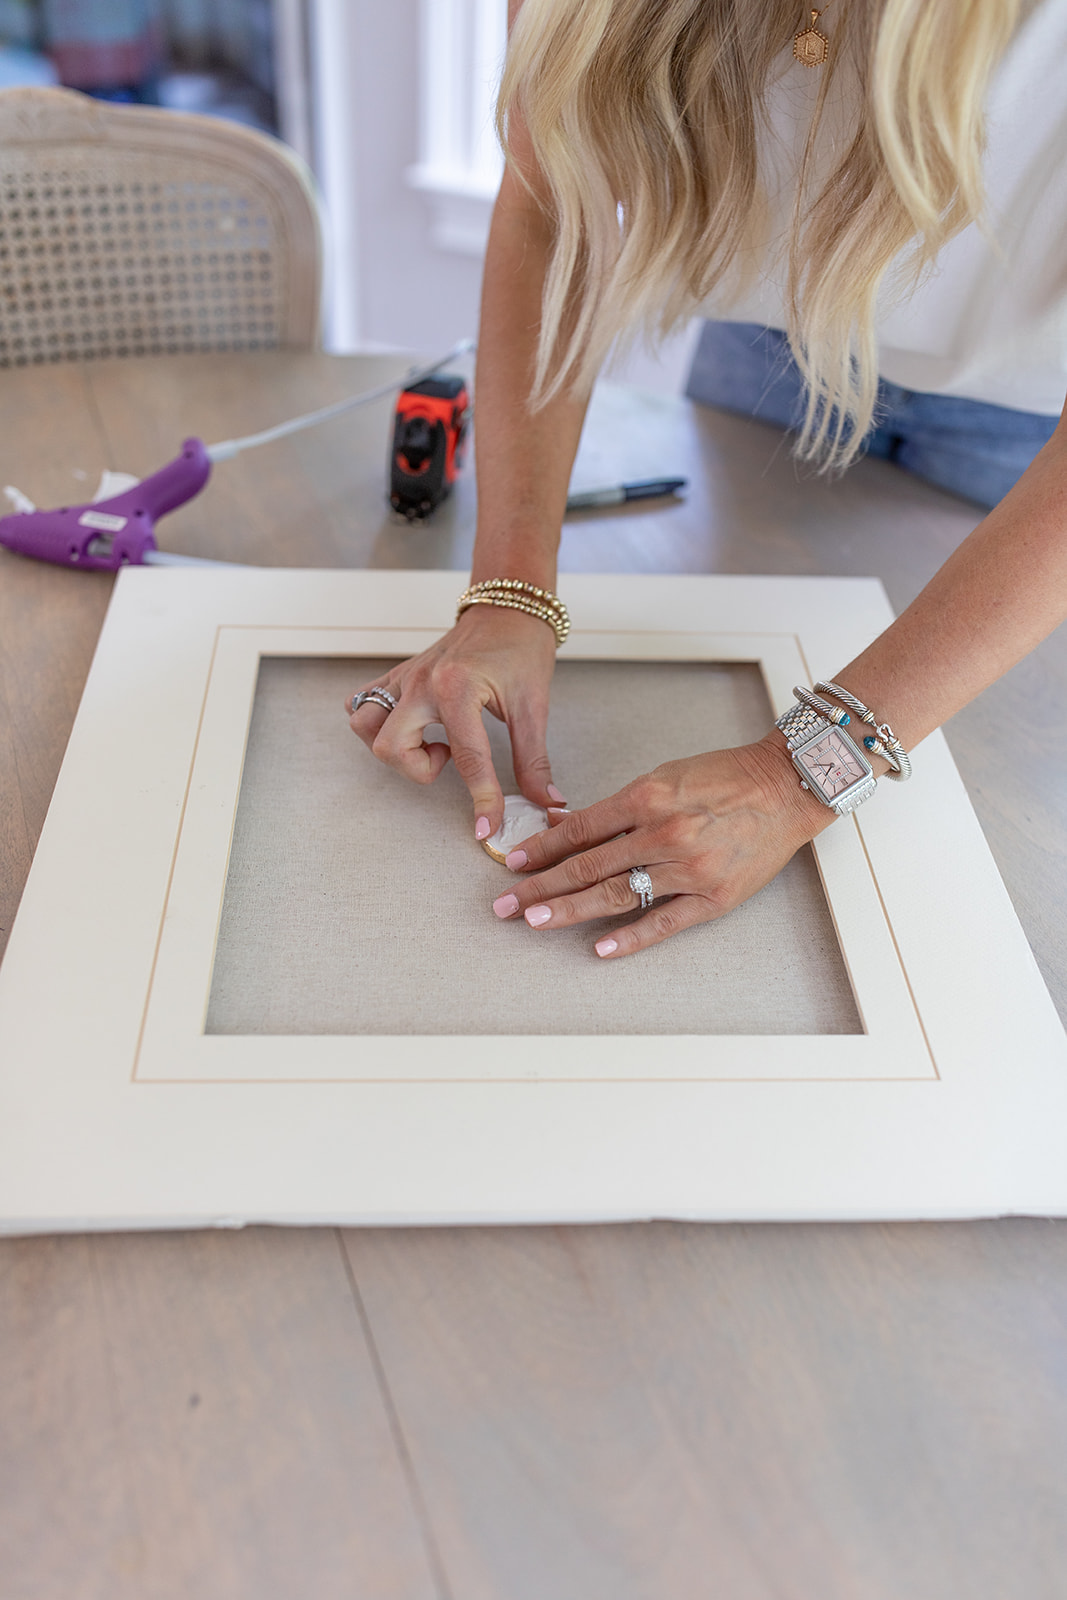
8. Apply hot glue to the back of your Intaglio and place directly onto the fabric. Apply light pressure and hold for a few seconds for it to fully dry.
9. Once all the glue is dry, slide the matting back into your frame and secure it in place. I used pliers to push the staples back towards the matting to hold it in place.
If your frame didn’t come with staples you could use a strong tape to secure it in place. The back won’t look beautiful but thats okay!
10. Hang and enjoy!
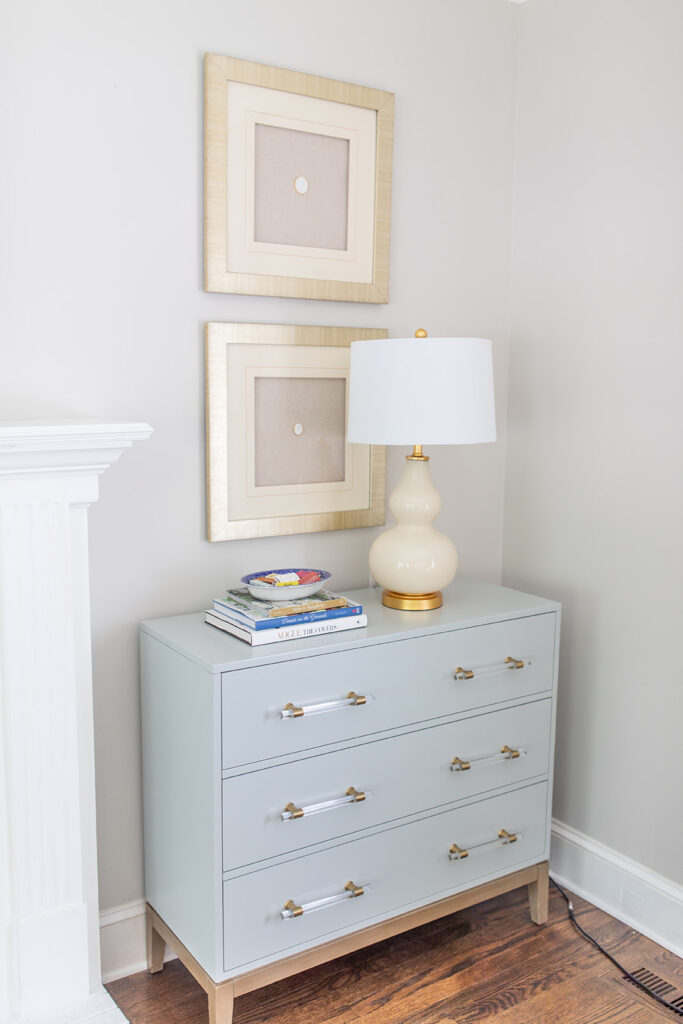
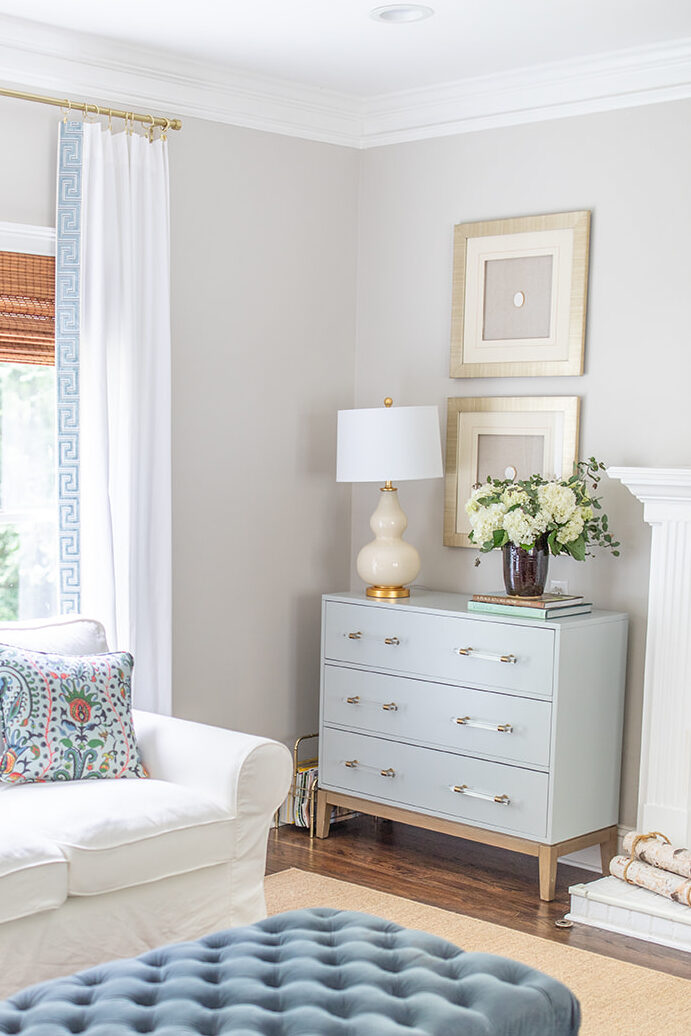
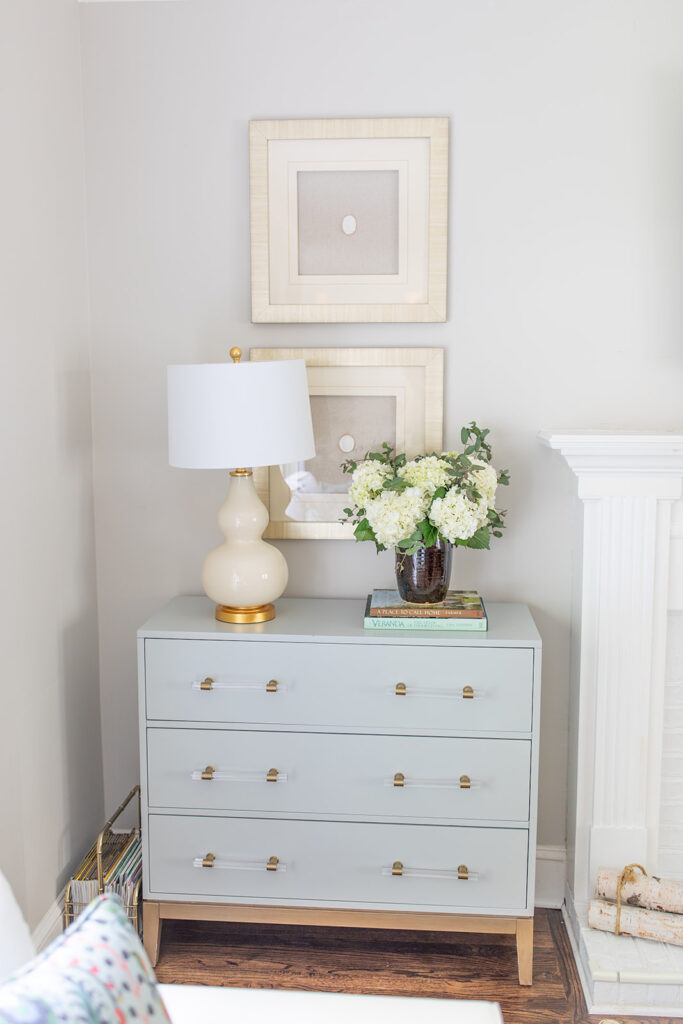
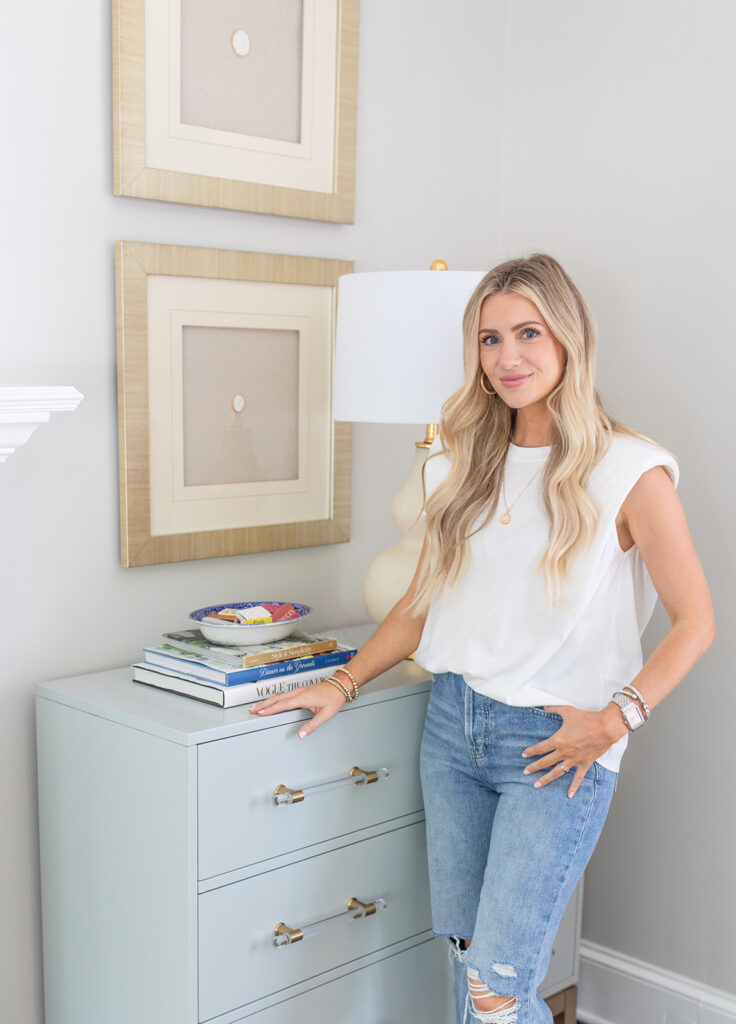
Before & After DIY Intaglios

There you have it! DIY Intaglios for less than $100. Do you love the idea of an intaglio look for less? Let me know in the comments or over on Instagram @lo_chandler.
Shop the Post

Want more designer dupes? Check out this post on how to add trim to curtains for a designer look.
Thanks so much for reading! Xo – Lo
photographs by Repurposed Photography

1 Comment
Living Room Reveal - LoChandler.com
October 26, 2022 at 5:10 pm[…] for hundreds of dollars (these are the exact ones I wanted) so I learned how to make my own! This DIY intaglios how-to guide is an affordable and easy way to get your own beautiful […]