
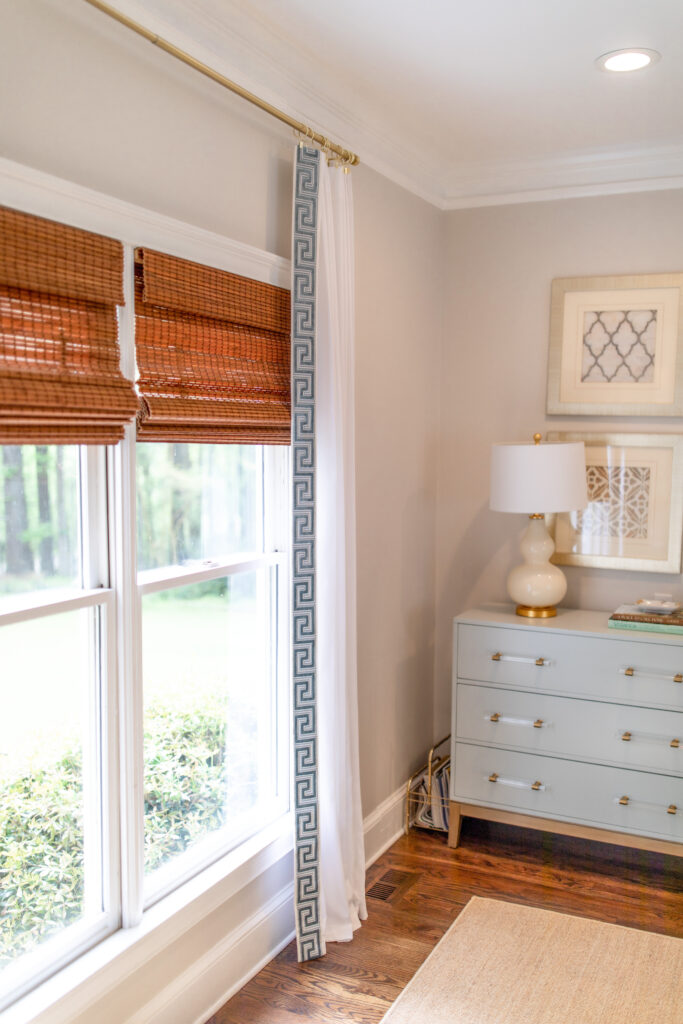
Let’s talk curtains! Do you want to achieve that high end designer look but don’t want to pay the designer price tag? I found the easiest method to add your own trim to affordable curtains in order to create a more elevated appearance. Keep reading to learn how to add trim to curtains for a designer look
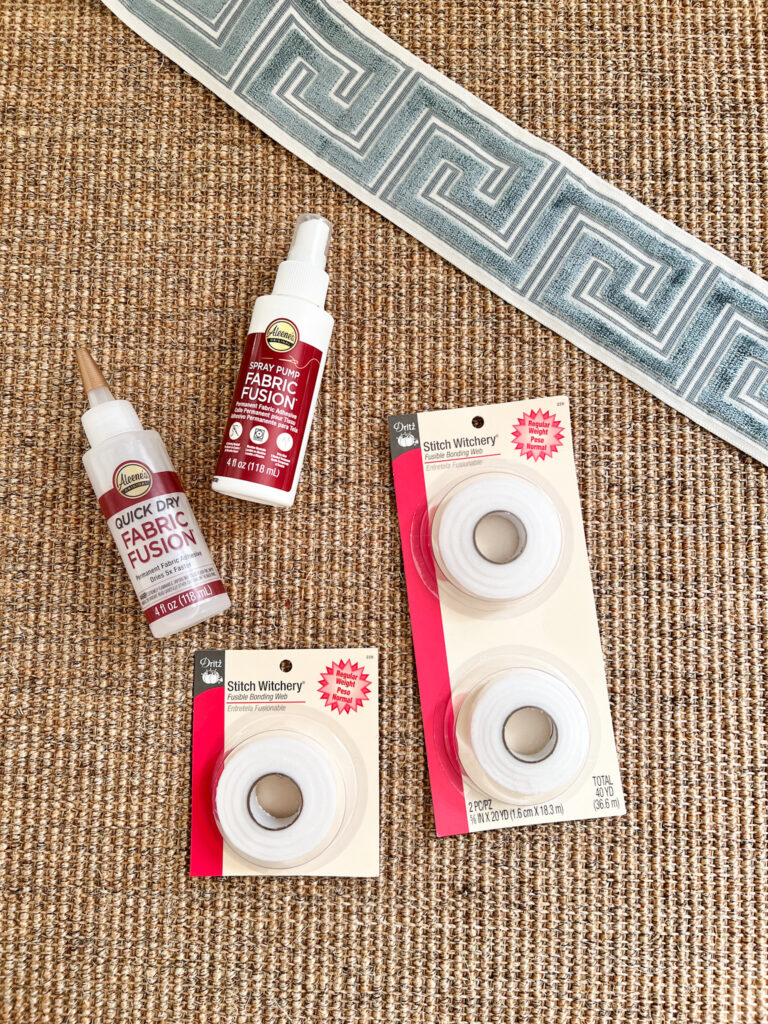
I tested three different adhesive methods: iron on tape (stitch witchery), spray pump glue, and gel glue. After trying all three I decided that the gel glue was the fastest and easiest (the tape didn’t work at all for me, I do not recommend).
Here’s What You Need:
Quick Dry Fabric glue, I used this one
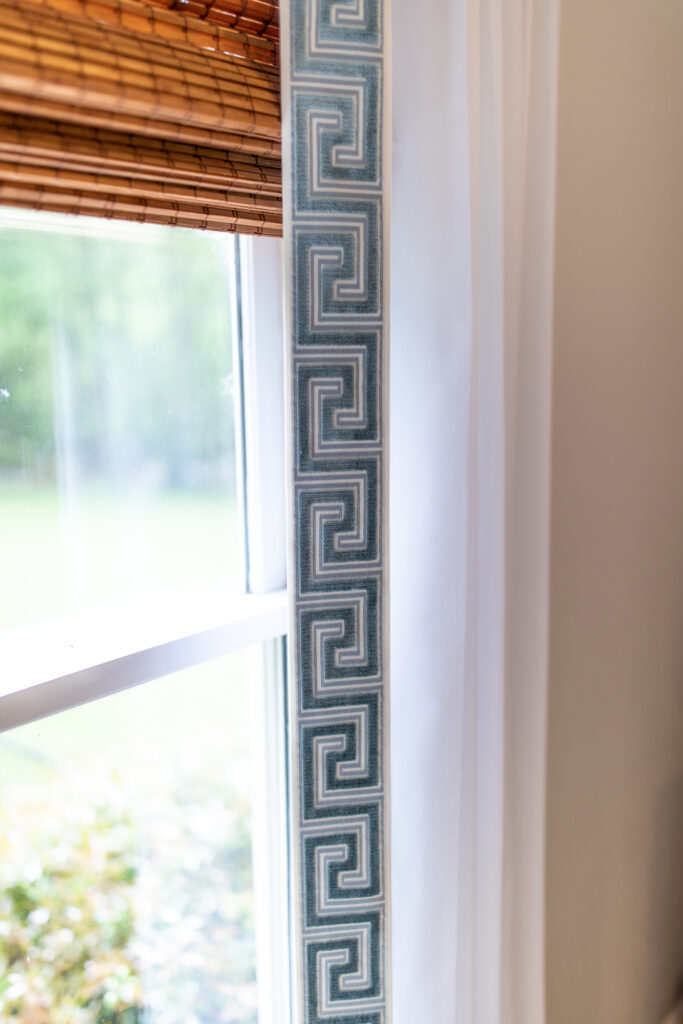
Trim by the yard, I used this one (color – mist) and I also love this one and this one.
Curtains, I used these

Here’s What to Do:
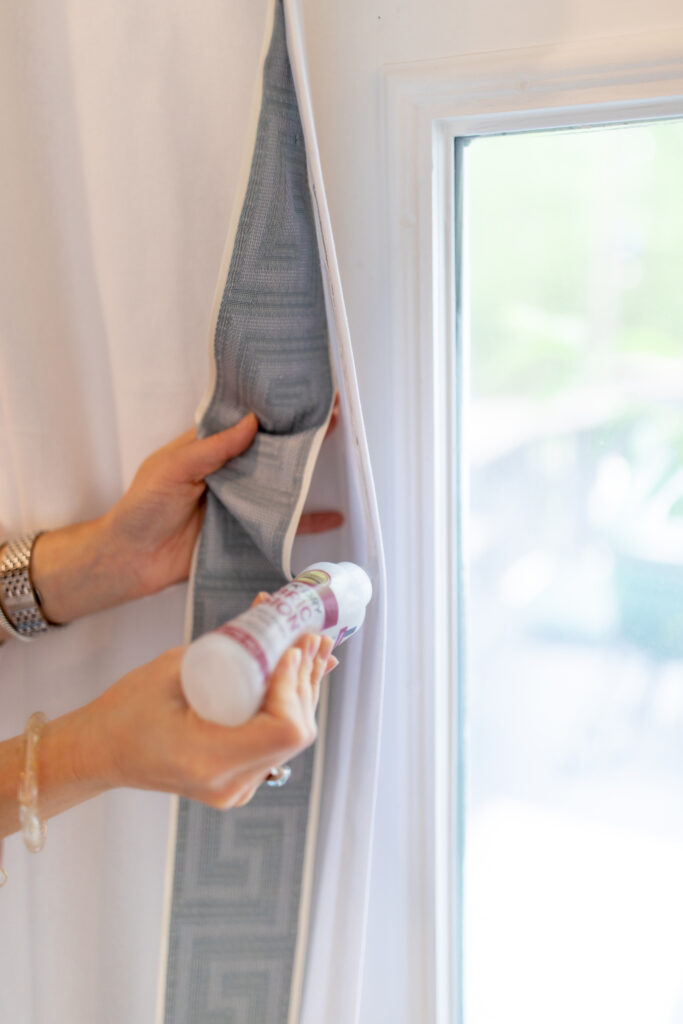
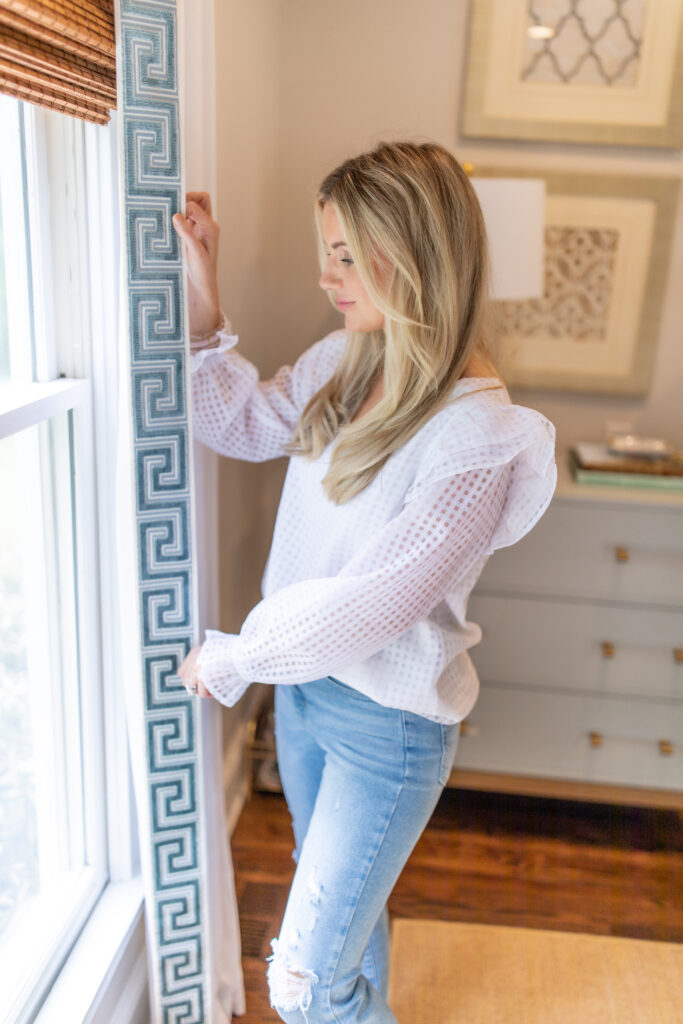
I tried the glue method on the ground and when the curtain was hanging up and it is MUCH easier to do it when the curtain is hanging up.
The glue has strong fumes, I recommend turning on a fan and opening up some doors and windows before you begin.
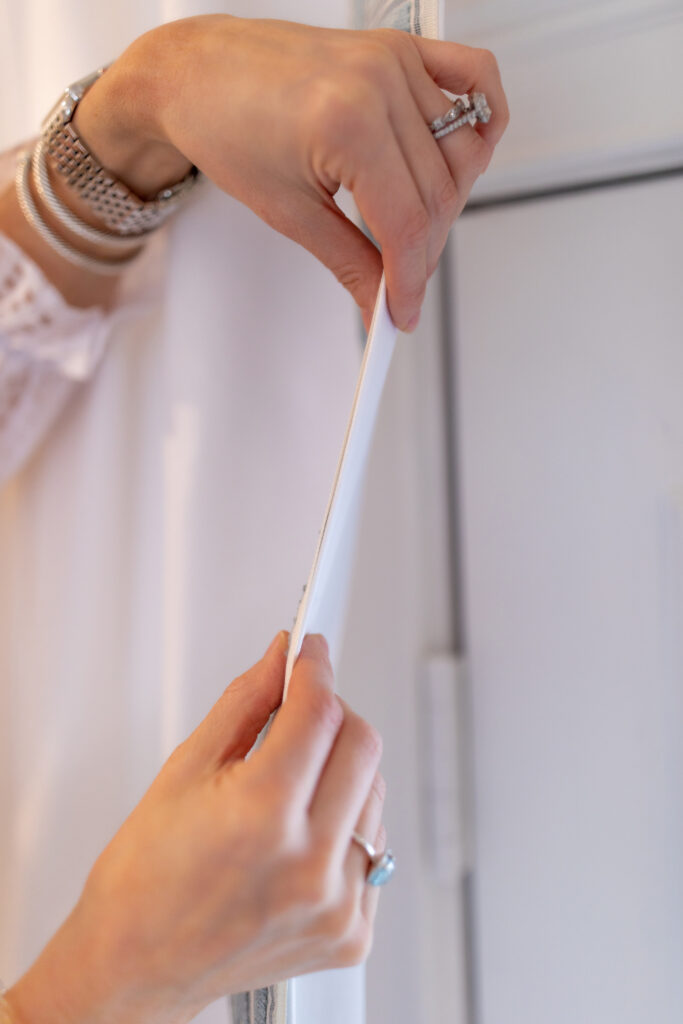
- Cut the amount of trim you need for each panel (I recommend adding 2-3 extra inches at both the top and bottom of the panel so you can wrap it around for a tailored look).
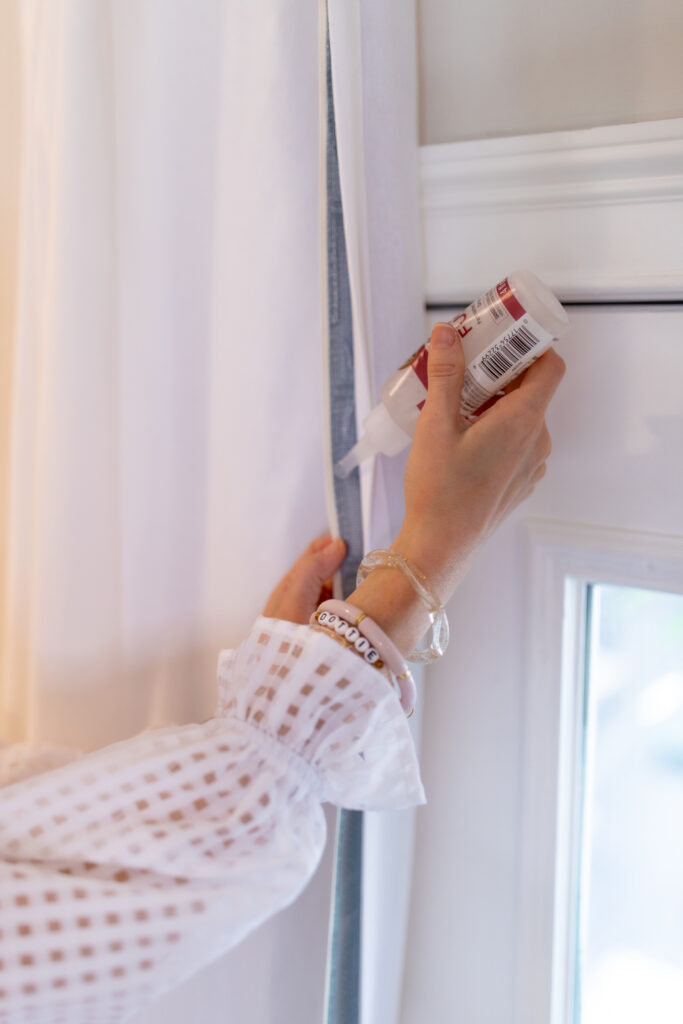
- Carefully line up the trim on the outer edge of the curtain and clip in place at the top (I folded about 2 inches of ribbon over the top). I used a few of my curtain hooks to hold it in place but you could use any clamp or clip you have.
- Slowly begin to apply the glue to the back side of the trim and press onto the curtain. I would glue about 5-6 inches at a time and then press and hold before moving to the next section.
- Repeat until the entire piece of trim is entirely glued.
Shop the Post
And it’s as easy as that! Let me know if you try it in the comments below or over on Instagram @lo_chandler .
Thanks so much for reading!
xo – Lo
photographs by Repurposed Photography


No Comments