Today I’m partnering with Smile Brilliant to show you how easy it is to professionally whiten your teeth from home + we have a HUGE giveaway at the end of the post!
I was so excited when Smile Brilliant reached out to me to try this kit, as I’ve wanted to whiten my teeth for a while but never wanted to dish out the money to go to a professional. Smile Brilliant uses professional grade whitening products that are a fraction of the cost of going to a dentist, and you can do it from home! Not having to drive to an office or take time off work is a huge plus in my book!
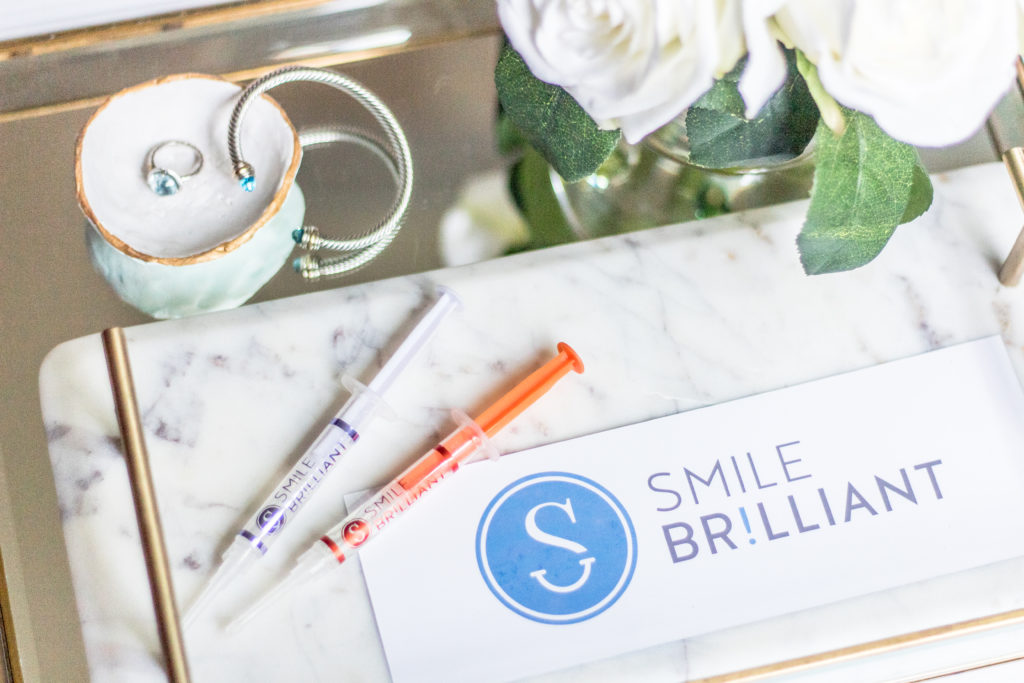
After you sign up for your kit, they send everything needed to make your teeth molds right to your doorstep. It took me less than 10 minutes to make mine and the instructions are very user friendly. After you send your molds back in the prepaid envelope, your trays will arrive in about a week.
To use:
1. Brush your teeth with water only or use a fluoride free toothpaste (fluoride slows down the whitening process)
2. Whiten teeth for 1-3 hours
3. Brush teeth with toothpaste per usual
4. Use the desensitizing gel for at least 15 minutes
5. Remove trays but don’t brush yet, just spit. The desensitizing gel will coat your teeth and continue to absorb even after the trays are removed.
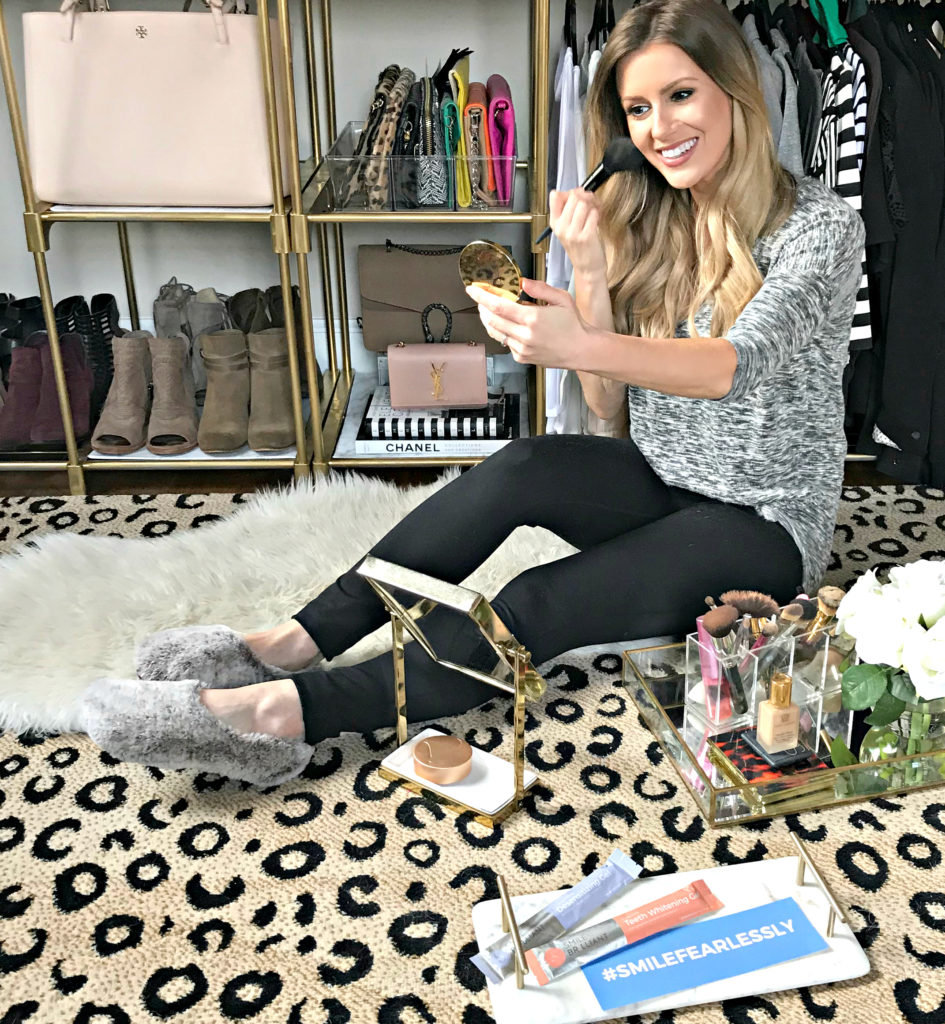
It is best to whiten before bedtime so the desensitizing gel can stay on for a maximum amount of time. When I originally started Smile Brilliant, I planned on changing up my entire evening routine in order to do my treatments in the evening. However, being on the go as often as I am, I found it was easier for me to do my treatments in the morning. And that’s what’s great about this product, you have it available to use whenever it fits into YOUR schedule. For my day job as a medical device sales rep, I’m usually out the door within 30 minutes of waking up, and I’m in the car on average 4-6 hours per day. I would put my trays in before I did my makeup in the mornings, head out the door and keep them in for a few hours while I drive to my destination. That’s what personally worked best for me, but I’ve read a lot of other users prefer to do their treatment in the evening while winding down for bed watching tv, doing laundry, or reading a book.
A few things to mention, I would start with only 45 minutes for your first treatment and work your way up based on your level of sensitivity. Don’t be afraid to USE a generous amount of the product. When I first started I only applied the tiniest dot of product onto each tooth mark in my trays and this was not enough! You should use about 1/3 a syringe per treatment (between both trays).
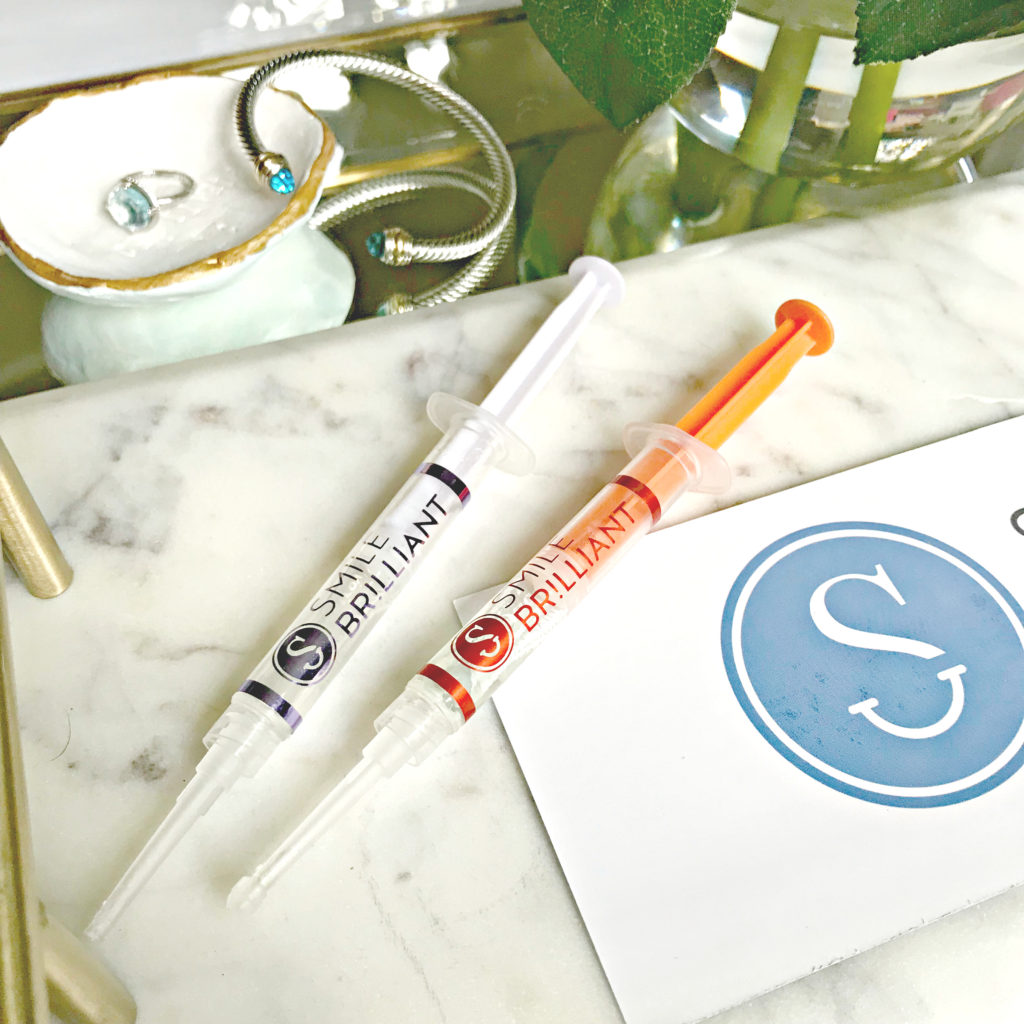
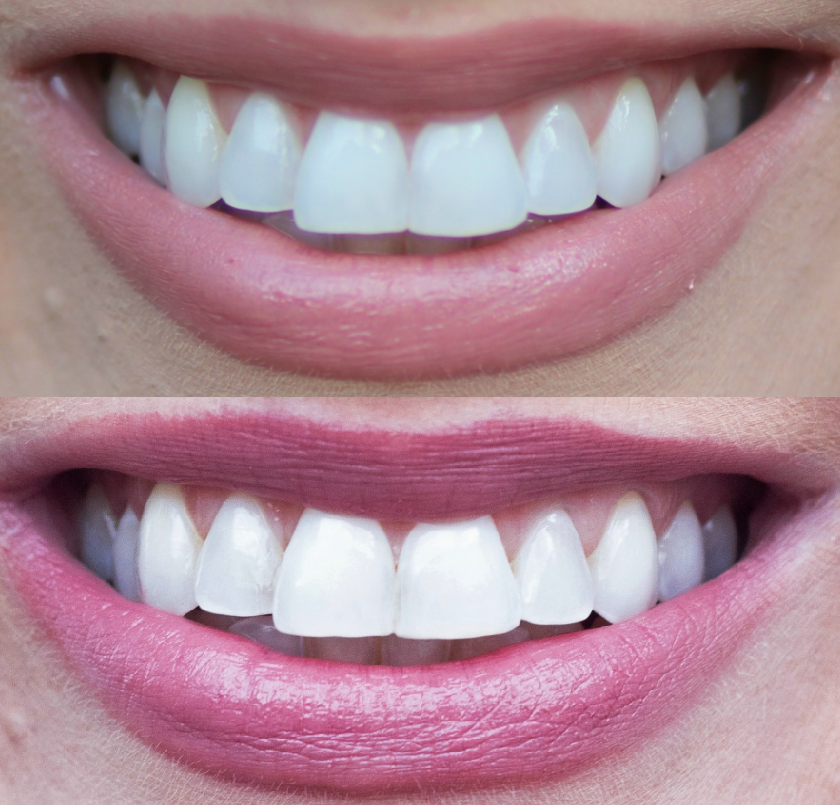
I love this product and am so thrilled with the results. I’ve used various whitening products on and off throughout the years so my teeth weren’t too badly stained to begin with, but I drink coffee every single day and am a cabernet enthusiast, so they were definitely dull and in need of brightening. My before and after pictures are below. I love that I never experienced any sensitivity and that I could make it work with my crazy, on the go schedule!
Now for the best part, a GIVEAWAY!
CLICK HERE TO ENTER to win your own customized Smile Brilliant professional whitening kit!
If you aren’t selected, Smile Brilliant is offering a discount on your kit when you use code lo-chandler15 at checkout!
*giveaway will close in two weeks*
What do you think?! Feel free to email me or ask any questions in the comments below, I would love to hear from you and am happy to answer any questions you may have. 🙂
Xoxo- Lo
*In partnership with Smile Brilliant, all opinions are my own*



No Comments